Setting up Squid content caching proxy for Jazz Source Control on Microsoft Windows platform 
Authors: HirotakaMatsumoto, ShubjitNaik, MadanKumar Build basis: Rational Team Concert 5.x,6.x
This is a supplemental document to our article Using content caching proxies for Jazz Source Control (includes additional information on using a content caching Proxy for Rational Team Concert). This document focuses and includes configuration details of Squid Caching Proxy Server on Microsoft Windows Environment.
Please Note, this solution is meant to accelerate RTC Jazz Source Control operation only, specifically versioned content stored in the repository and work item attachments. Squid proxy URL should only be accessed via RTC Thick clients (Eclipse etc), Jazz Build Engine and RTC SCM command line.
Setting up Squid on Microsoft Windows with HTTPS as Accelerator Proxy
Squid can compile and run on Windows as a system service using the Cygwin emulation environment, or can be compiled in Windows native mode using the MinGW + MSYS development environment. Windows NT 4 SP4 and later are supported. In this document we use Cygwin.Pre-requisites
- Squid Installer - You can download Windows installer from squid-cache wiki. Download the supported version for specific version of RTC as per System Requirement. For RTC v6.0.3 the minimum supported version of Squid is 3.3.3.
- Cygwin - This article includes steps to download and install Cygwin
- OpenSSL and CURL - openssl is necessary to generate a certificate for SSL communication. CURL we have used to to verify squid installation. Both can be installed through Cygwin. Instructions included in this article
Installation
Squid
- Download squid.msi from squid-cache wiki (version 3.5), here is the direct link
- Select squid.msi, open its context menu and select Install
- The install option you need to decide is the install location. The default is C:\Squid and it is suggested to use this default location.
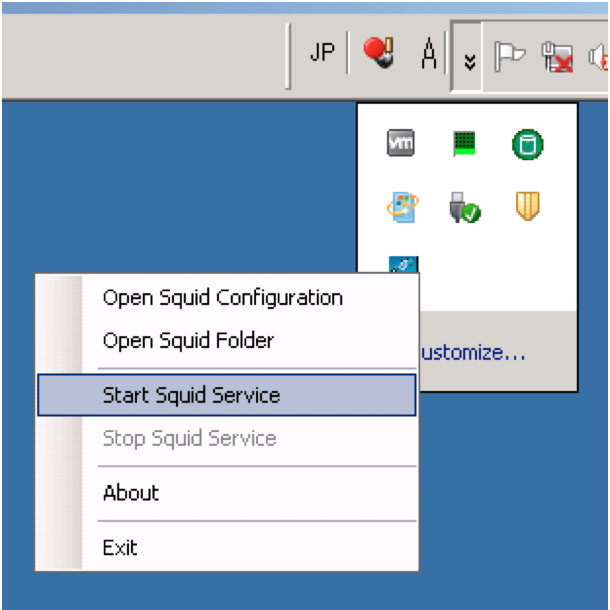
- Squid is installed as Windows Service, and you can start/stop it from the toolbars squids icon tray
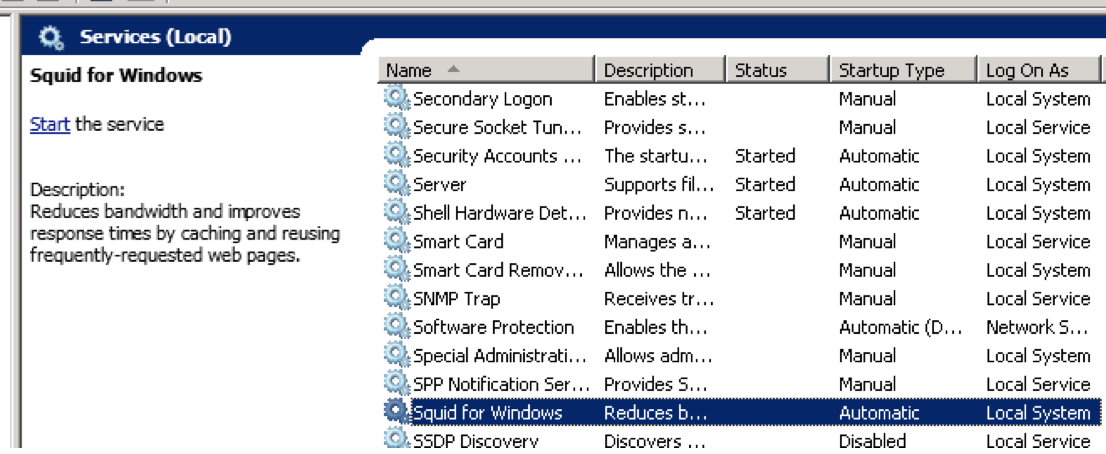
- If squids icon tray isnt in the toolbar, you can start it by Services control panel or net command.
- Services: You can start/stop squid service from Services control panel. Please see below.
- Command line : You can start/stop squid service by the commands below
- Start: net start squidsrv
- Stop: net stop squidsrv
- Services: You can start/stop squid service from Services control panel. Please see below.
- Just after the installation is done, squid should be automatically started. Lets stop it now by squids icon tray or Windows Services or net command.
Cygwin OpenSSL and CURL
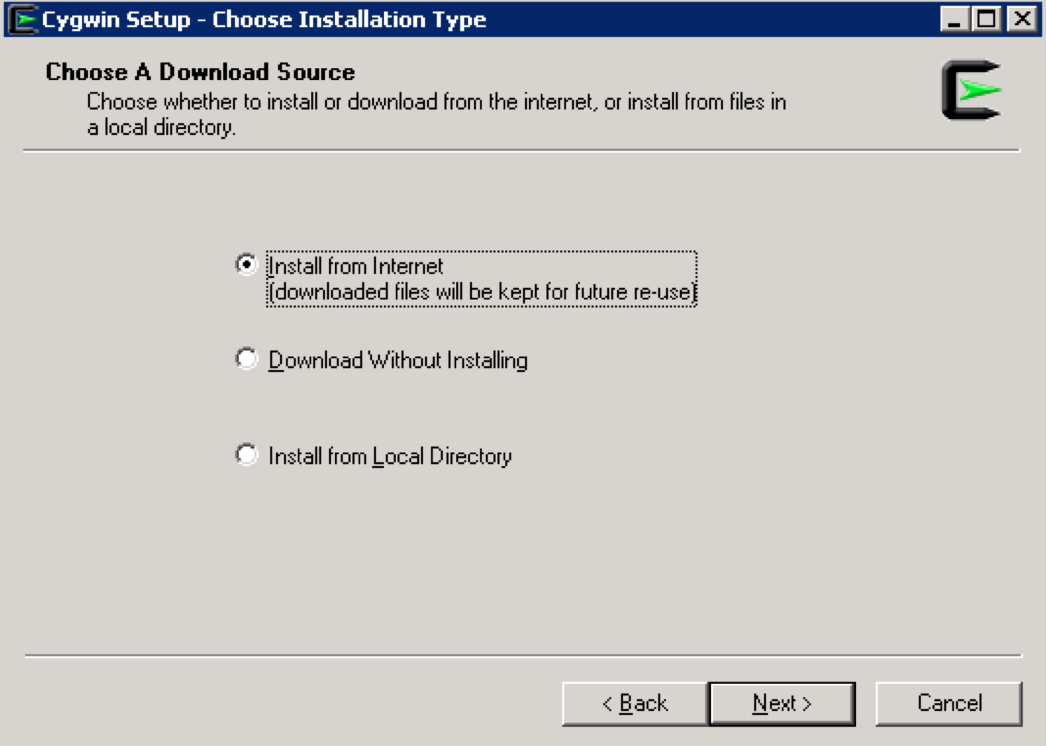
- Download the installer from Cygwin. You can download setup-x86.exe for 32-bit installation ( direct link ) or setup-x86_64.exe for 64-bit installation (direct link )
- Select Install from internet in the Choose Installation Type panel
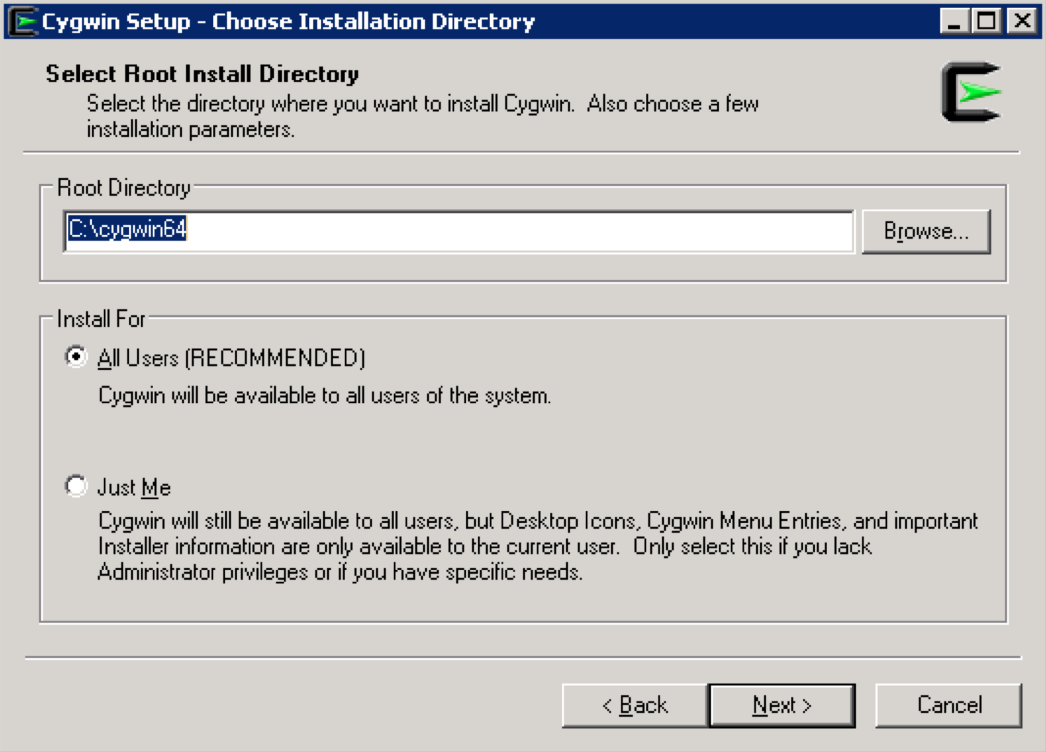
- You could use the Default location in the Choose Installation Directory panel
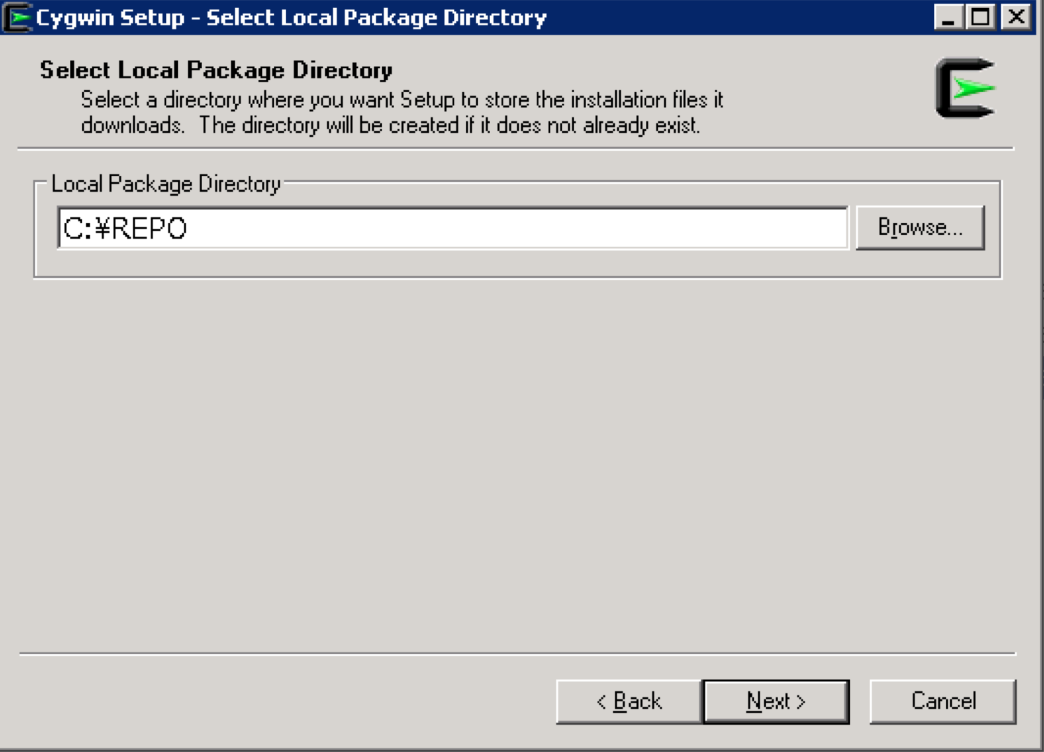
- Specify the directory where setup will store the installation files in Select Local Package Directory panel. You could leave it at default as well.
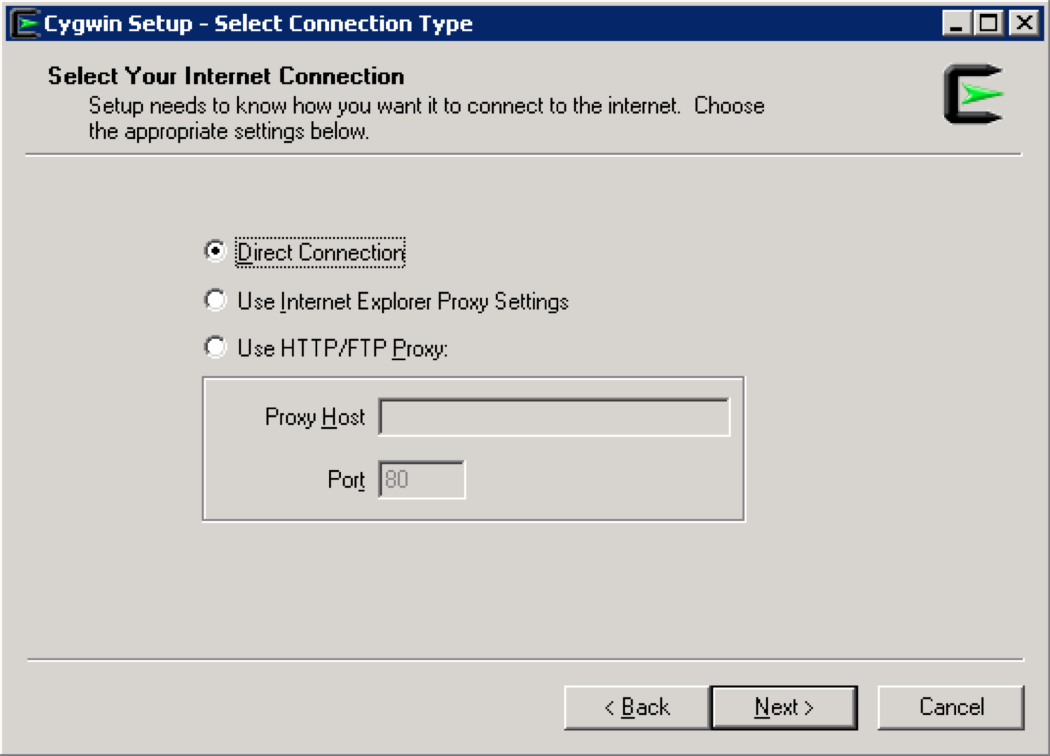
- Select your preferred network connection in Select Connection Type panel. If you can access Internet directly, Direct Connection should be okay. Or if you need to use Proxy, you can select either IE Proxy settings or you can specify your own proxy.
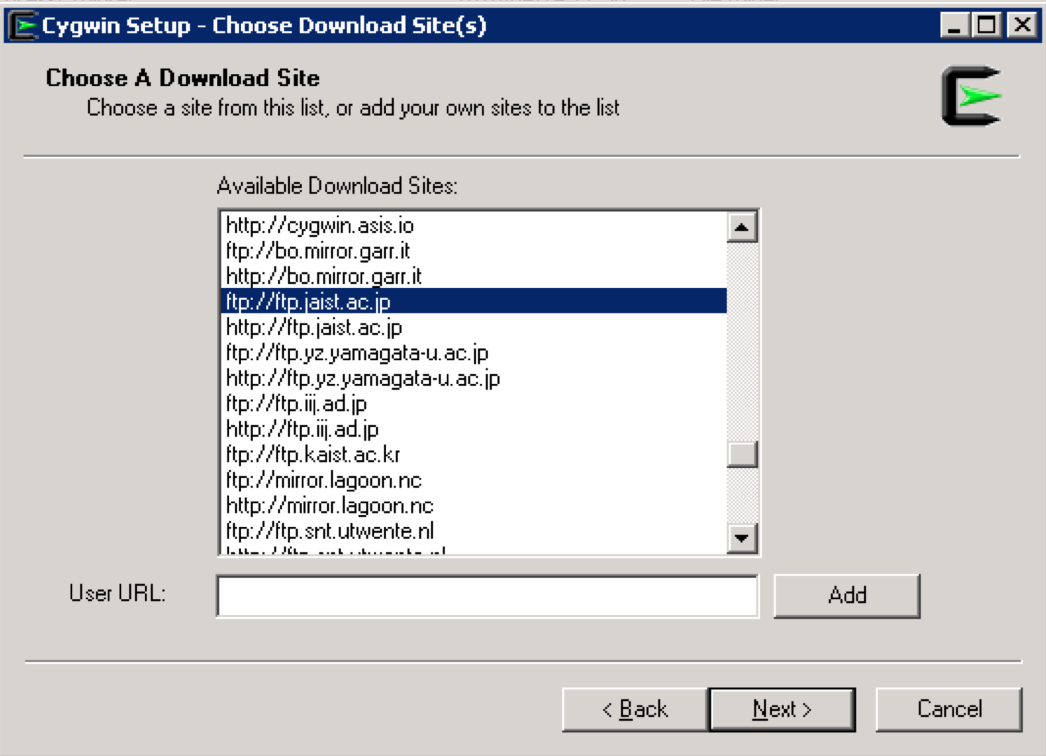
- Specify the nearest download site in Choose Download Site(s) panel. In the example below,
ftp://ftp.jaist.ac.jpis selected. If your network cant access ftp, then you can try http ( for example,http://ftp.jaist.ac.jp)
- After some of the files are downloaded, you will see the Select Packages panel
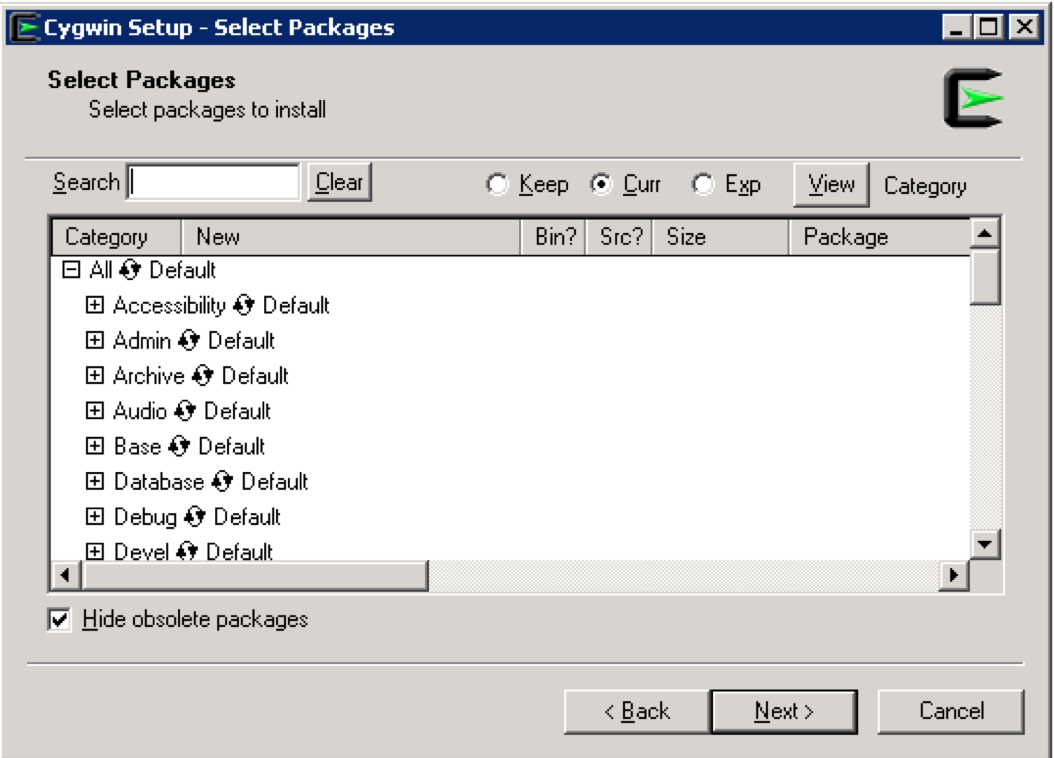
- Type openssl in Search and expand Base category, so you will see something like
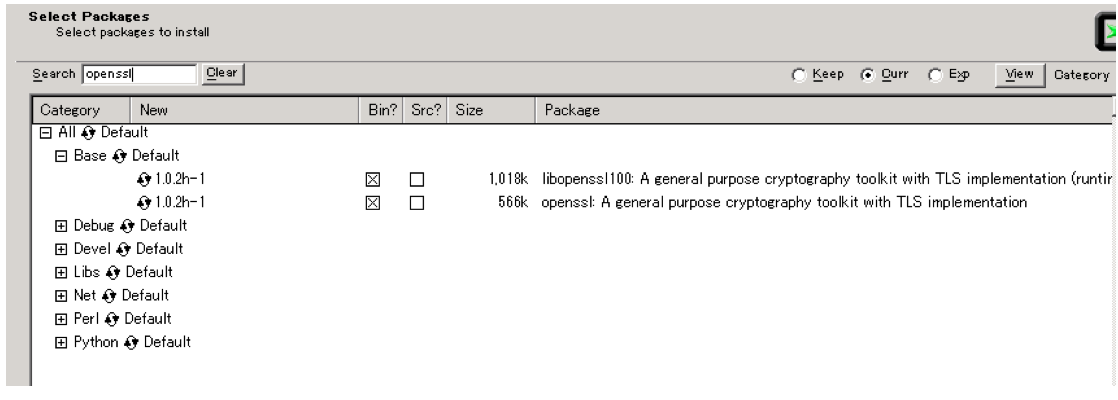
- If both has a check mark under Bin? column in the above image , openssl will be installed. However, if you instead see n/a like in the image below, then you need to click on
Skipicon so that you would see check boxes under Bin?

- Type curl in Search and expand Net category and perform the same steps as followed for openssl above
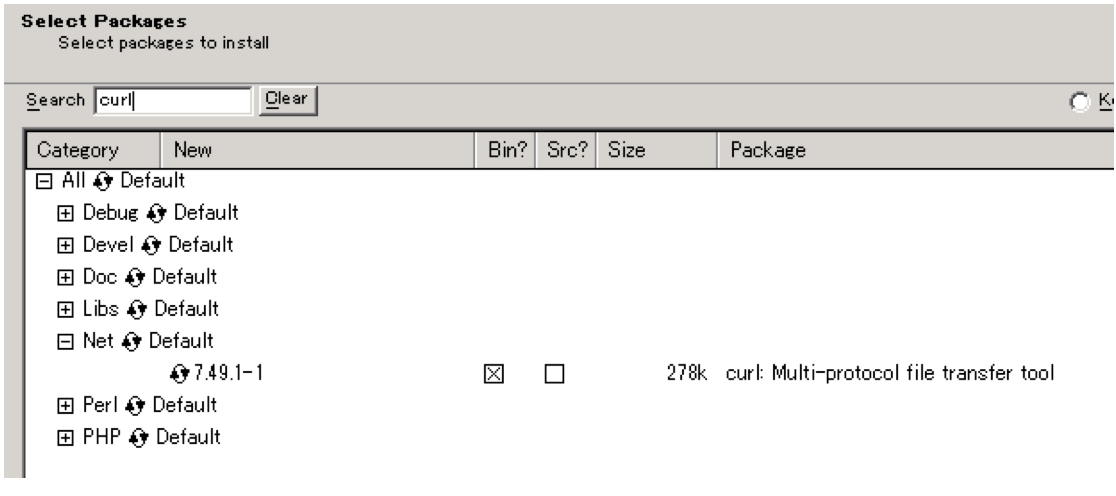
- You can add other packages as you like (But for this Proxy, openssl and curl are enough)
- Click Next and the download starts. Once it is completed, click Finish.
- Add a path to Cygwins bin directory to your PATH environment variable.
Configuration of squid
Majority of the Squid configuration is in squid.conf file. Here are some of the pre-requisites to plan followed by a sample squid.conf.- Port number: You need to decide the proxys port number. It is recommended to use the same port number of RTC on WAS. If there is an IBM HTTP Server in place or if you want to use the different port number, please follow this technote
- Directories for Certificate, Cache and Coredump files. Three directories are necessary, for example:
- Certificate: C:\Squid\certs
- Cache: C:\Squid\cachedir (Note: The size of cache files will be huge, so you need to plan it well)
- Coredump: C:\Squid\coredump
- SSL Certificates for Squid: The certificate is needed since this Proxy uses SSL to connect to both RTC SCM client and server. Here is an instruction
- Make sure that cygwins bin directory is in your PATH environment variable.
- Open a command window and Create Certificates at Certificate directory. For example:
openssl req -x509 -sha256 -newkey rsa:2048 -keyout /cygdrive/C/Squid/certs/privkey.pem -out /cygdrive/C/Squid/certs/server.pem -days 1000 -nodes
Note: The notation of Windowss path for Cygwin is as follows and cygdrive is a fixed name here.:/cygdrive/<windows drive name>/<folder name1>/<folder name2>/ ./<file name>
- Example:
C:\Squid\certs>openssl req -x509 -sha256 -newkey rsa:2048 -keyout /cygdrive/C/Squid/certs/privkey.pem  -out /cygdrive/C/Squid/certs/server.pem -days 1000 -nodes
Generating a 2048 bit RSA private key
............................................+++
.........+++
unable to write 'random state'
writing new private key to '/cygdrive/C/Squid/certs/privkey.pem'
-----
You are about to be asked to enter information that will be incorporated
into your certificate request.
What you are about to enter is what is called a Distinguished Name or a DN.
There are quite a few fields but you can leave some blank
For some fields there will be a default value,
If you enter '.', the field will be left blank.
-----
Country Name (2 letter code) [AU]:JP
State or Province Name (full name) [Some-State]:Tokyo
Locality Name (eg, city) []:Chuoku
Organization Name (eg, company) [Internet Widgits Pty Ltd]:MyCompany
Organizational Unit Name (eg, section) []:MyGroup
Common Name (e.g. server FQDN or YOUR name) []:proxy.mycompany.com
Email Address []:jtsadmin@rtcserver.mycompany.com
- Squid Cache: You need to initialize squid cache, here are the steps
- Stop squid if it runs
- Open Squid Terminal on the desktop. ( Note: Please dont use a command prompt window )
- Run command squid -z
Note: If you want to clean up the cache, 1) Stop squid 2) Delete Cache directory 3) Create Cache directory again and 4) squid -z.
- Update Squid.conf File
- squid.conf is located, for default path, at C:\Squid\etc\sqid\squid.conf
- For details on each paramenter you can look at the squid
- Example squid.conf file:
https_port <proxy server port number>  cert=<path to a certificate(pem)> accel key=<path to a private key(pem)>
cache_peer <rtc server name> parent <rtc server port number>  0 no-query originserver name=httpsAccel ssl login=PASSTHRU sslflags=DONT_VERIFY_PEER
cache_peer_access httpsAccel allow all
cache_replacement_policy heap GDSF
memory_replacement_policy heap GDSF
cache_dir aufs <path to a cache directory> <max directory cache size (Mbytes)>  256 256
cache_mem <max memory cache size >  MB
cache_store_log none
coredump_dir <path to a coredump directory>
acl localnet src <IP address which squid can accept>
http_access allow localnet
http_access allow localhost
refresh_pattern .             0      20%    4320
cachemgr_passwd disable all
maximum_object_size 1024 MB
maximum_object_size_in_memory 16 MB
buffered_logs on
visible_hostname <proxy server  name>

#cache_effective_user squid
#cache_effective_group wheel
#debug_options ALL,2
max_filedescriptors 3200
logfile_rotate 7
-
-
proxy server port number: Proxy servers port number. For example, 9443 -
path to a certificate(pem): Path to a certificate file. For example, /cygdrive/C/Squid/certs/server.pem -
path to a private key(pem): Path to a private key file. For example, /cygdrive/C/Squid/certs/privkey.pem -
rtc server name: RTC server name. For example rtcserver.mycompany.com This server name must be DNS-aware name. If this server name isnt registered to DNS, you can use IP address instead. -
rtc server port number: RTC Server port number. For example 9443 -
path to a cache directory: Path to a cache directory. For example, /cygdrive/C/Squid/cachedir -
max directory cache size (Mbytes): Max directory cache size in Mbytes. For example, 200000 -
max memory cache size: Max memory cache size. For example, 4096 MB -
path to a coredump directory: Path to a coredump directory. For example /cygdrive/C/Squid/coredump -
IP address which squid can accept: IP address this proxy can accept. For example, 192.168.0.0/16 -
proxy server name: Proxy server name. For example, proxy.mycompnay.com
-
- squid.conf sample from a running instance. You could start to edit squid.conf by copy & pasting the following sample
https_port 9443 cert=/cygdrive/D/Squid/certs/server.pem accel key=/cygdrive/D/Squid/certs/privkey.pem
cache_peer rtcserver.mycompany.com parent 9443 0 no-query originserver name=httpsAccel ssl login=PASSTHRU sslflags=DONT_VERIFY_PEER
#cache_peer 192.168.43.10 parent 9443 0 no-query originserver name=httpsAccel ssl login=PASSTHRU sslflags=DONT_VERIFY_PEER
cache_peer_access httpsAccel allow all
cache_replacement_policy heap GDSF
memory_replacement_policy heap GDSF
cache_dir aufs /cygdrive/D/Squid/cachedir 30000 256 256
cache_mem 100 MB
cache_store_log none
coredump_dir /cygdrive/D/Squid/coredump
acl localnet src 192.0.0.0/8
http_access allow localnet
http_access allow localhost
refresh_pattern . 0 20% 4320
cachemgr_passwd disable all
maximum_object_size 4096 MB
maximum_object_size_in_memory 2 MB
buffered_logs on
visible_hostname localhost

max_filedescriptors 3200
logfile_rotate 7
Installation Verification of squid
- Make sure you have a running RTC Server
- Start the Squid server by using the icon tray in the toolbar
- Make sure that cygwins bin directory is in your PATH environment variable prior to running the CURL commands
- Run CURL as follows
- curl -k https://ProxyServer:ProxyPortNumber/ccm/service -v -u [rtc user id]
- For example,
curl -k https://proxy.mycompany.com:9443/ccm/service -v -u jtsadmin
- If you see either 40x or 302 as the response code, your proxy is working as expected.
- Or open your Eclipse client and create a new repository connection, connecting to the Squid Proxy server ccm URL
- Squid Access log Location
C:\Squid\var\log\squid\access.log - The size of the log files (access.log and cache.log ) might be growing fast in sizr, so you can rotate the log files by running the commandsquid -k rotate. In detail, please see this wiki
Going forward your RTC Eclipse clients, Builds (JBE, Jenkins) and SCM Command line can start using the Squid proxy URL https://SquidProxyHost:Squid proxy server port/ccm/
Related topics: Using content caching proxies for Jazz Source Control, Installing Proxy Servers for CLM
External links:
Contributions are governed by our Terms of Use. Please read the following disclaimer.
Dashboards and work items are no longer publicly available, so some links may be invalid. We now provide similar information through other means. Learn more here.