Setting up Squid content caching proxy for Jazz Source Control on Microsoft Windows platform 
Authors: HirotakaMatsumoto, ShubjitNaik, MadanKumar Build basis: Rational Team Concert 5.x,6.x
This is a supplemental document to our article Using content caching proxies for Jazz Source Control (includes additional information on using a content caching Proxy for Rational Team Concert). This document focuses and includes configuration details of Squid Caching Proxy Server on Microsoft Windows Environment.
Setting up Squid on Microsoft Windows with HTTPS as Accelerator Proxy
Squid can compile and run on Windows as a system service using the Cygwin emulation environment, or can be compiled in Windows native mode using the MinGW + MSYS development environment. Windows NT 4 SP4 and later are supported. In this document we use Cygwin.Pre-requisites
- Squid Installer - You can download Windows installer from squid-cache wiki. Download the supported version for specific version of RTC as per System Requirement. For RTC v6.0.3 the minimum supported version of Squid is 3.3.3.
- Cygwin - This article includes steps to download and install Cygwin
- OpenSSL and CURL - openssl is necessary to generate a certificate for SSL communication. CURL we have used to to verify squid installation. Both can be installed through Cygwin. Instructions included in this article
Installation
Squid
- Download squid.msi from squid-cache wiki (version 3.5), here is the direct link
- Select squid.msi, open its context menu and select Install
- The install option you need to decide is the install location. The default is C:\Squid and it is suggested to use this default location.
- Squid is installed as Windows Service, and you can start/stop it from the toolbars squids icon tray
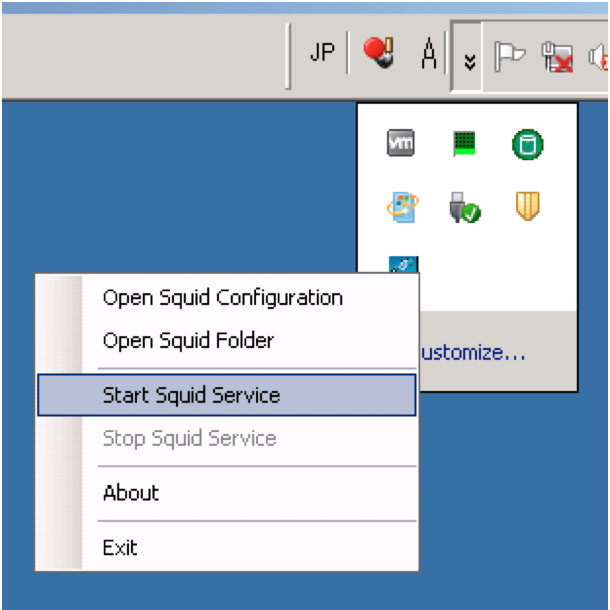
- If squids icon tray isnt in the toolbar, you can start it by Services control panel or net command.
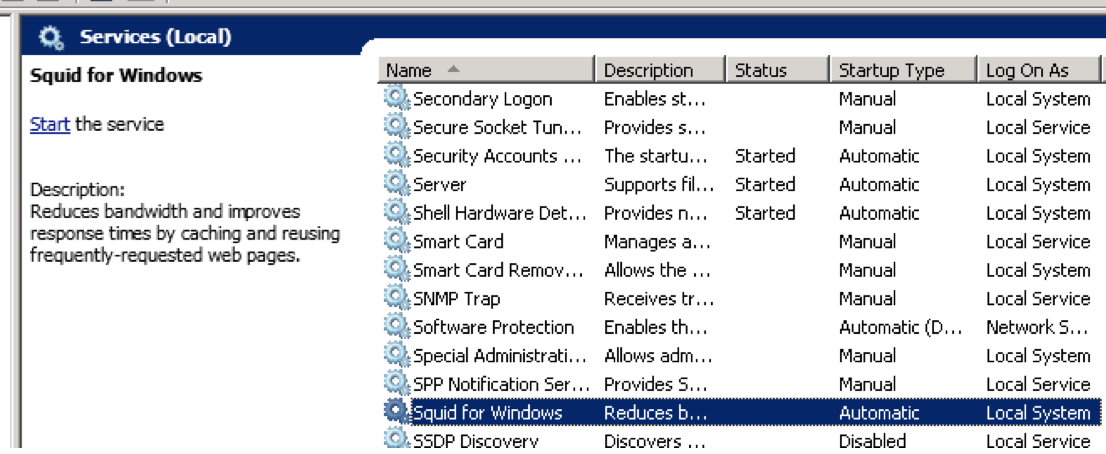
- Services: You can start/stop squid service from Services control panel. Please see below.
- Command line : You can start/stop squid service by the commands below
- Start: net start squidsrv
- Stop: net stop squidsrv
- Services: You can start/stop squid service from Services control panel. Please see below.
- Just after the installation is done, squid should be automatically started. Lets stop it now by squids icon tray or Windows Services or net command.
Cygwin OpenSSL and CURL
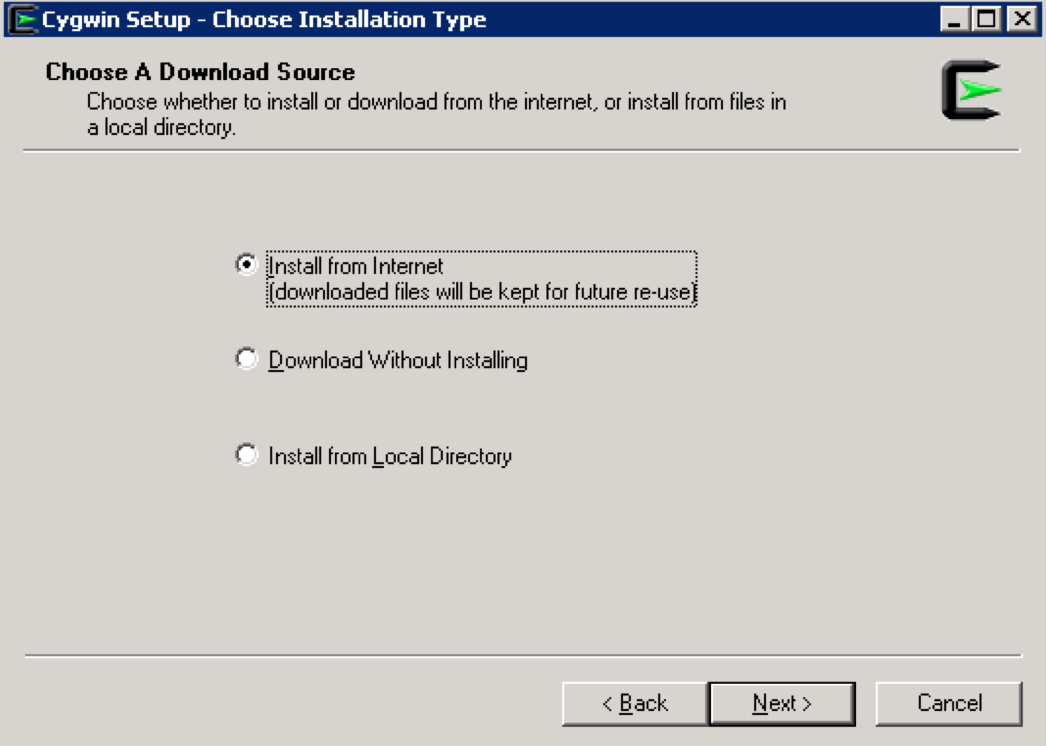
- Download the installer from Cygwin. You can download setup-x86.exe for 32-bit installation ( direct link ) or setup-x86_64.exe for 64-bit installation (direct link )
- Select Install from internet in the Choose Installation Type panel
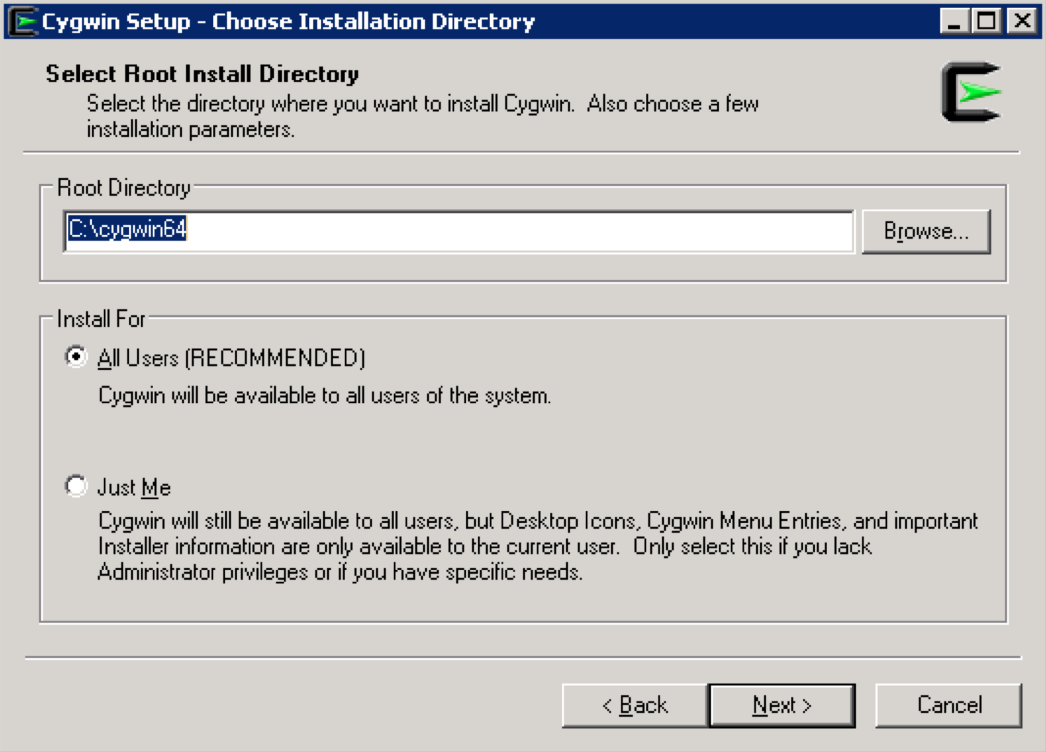
- You could use the Default location in the Choose Installation Directory panel
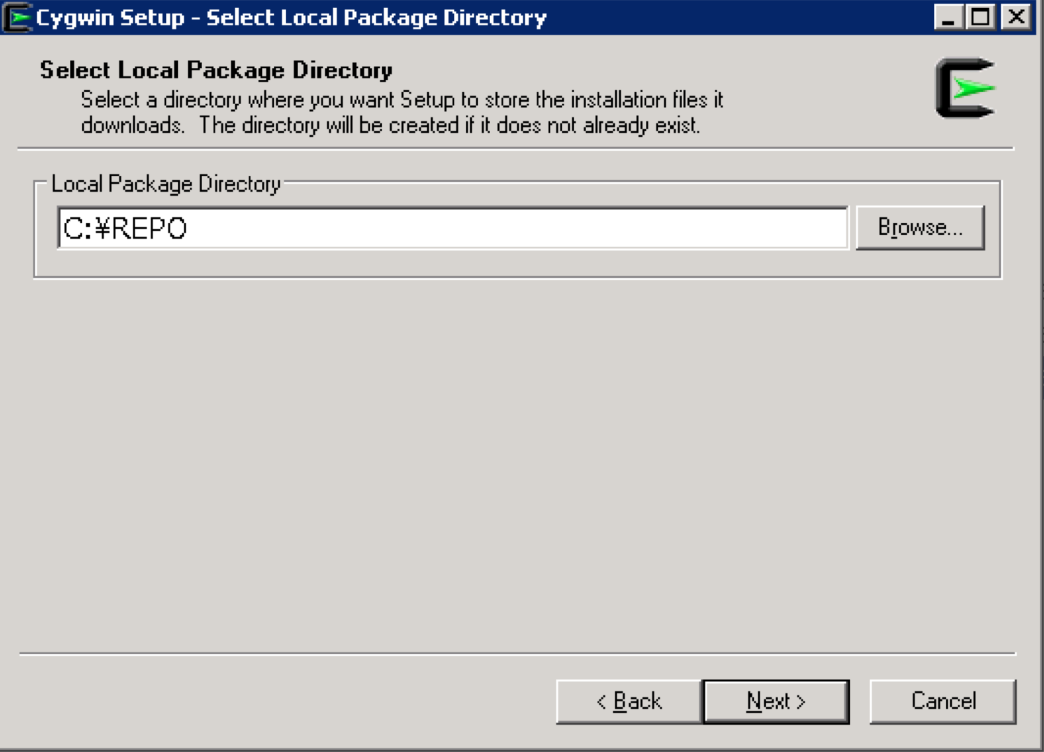
- Specify the directory where setup will store the installation files in Select Local Package Directory panel. You could leave it at default as well.
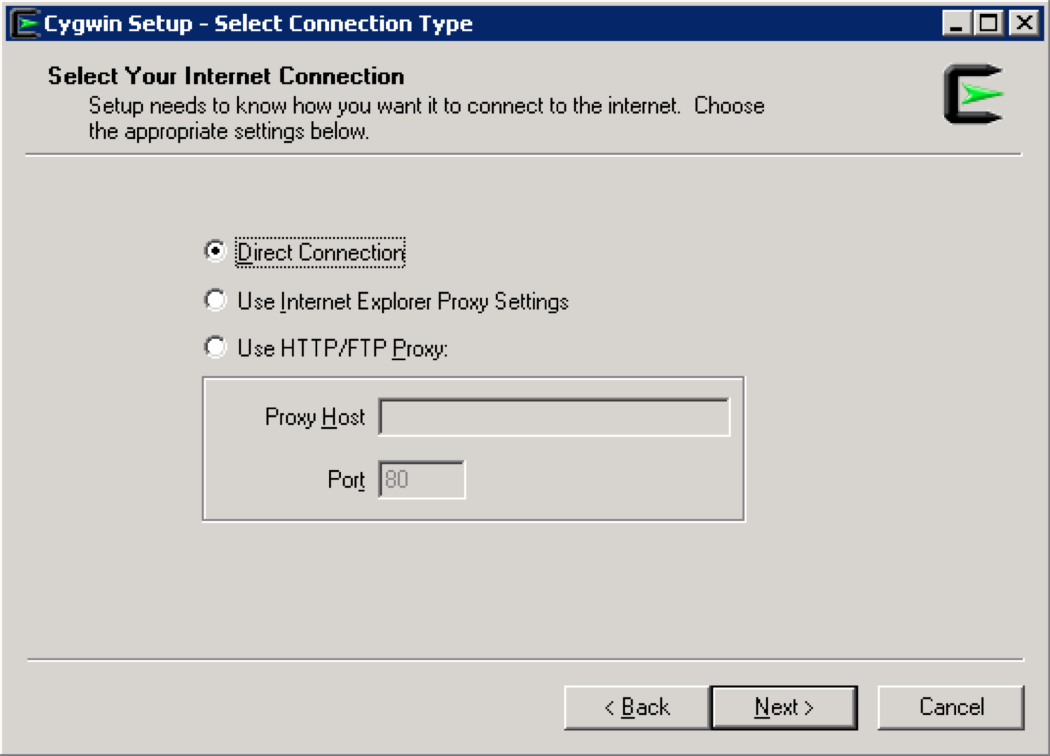
- Select your preferred network connection in Select Connection Type panel. If you can access Internet directly, Direct Connection should be okay. Or if you need to use Proxy, you can select either IE Proxy settings or you can specify your own proxy.
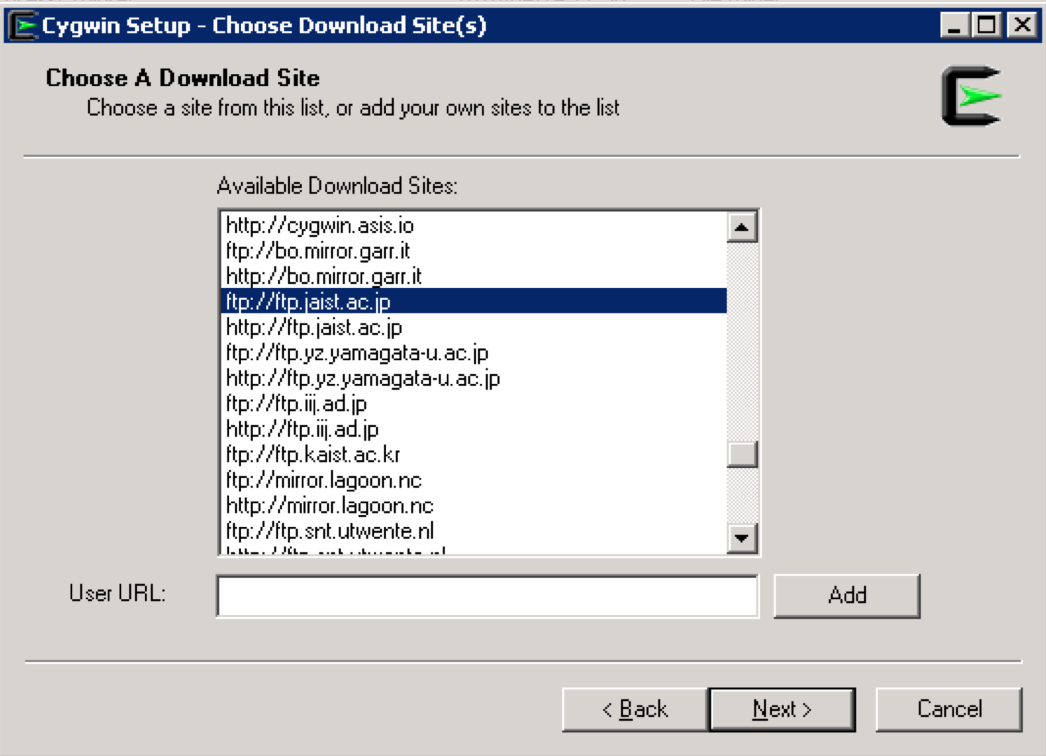
- Specify the nearest download site in Choose Download Site(s) panel. In the example below,
ftp://ftp.jaist.ac.jpis selected. If your network cant access ftp, then you can try http ( for example,http://ftp.jaist.ac.jp)
- After some of the files are downloaded, you will see the Select Packages panel
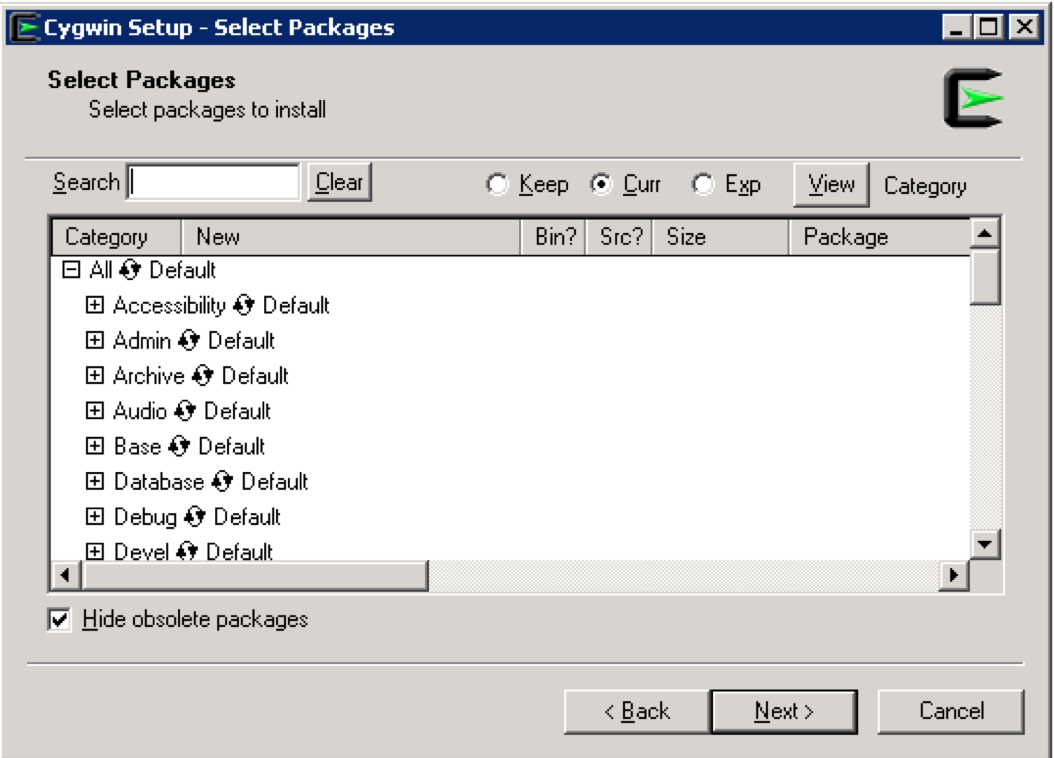
- Type openssl in Search and expand Base category, so you will see something like
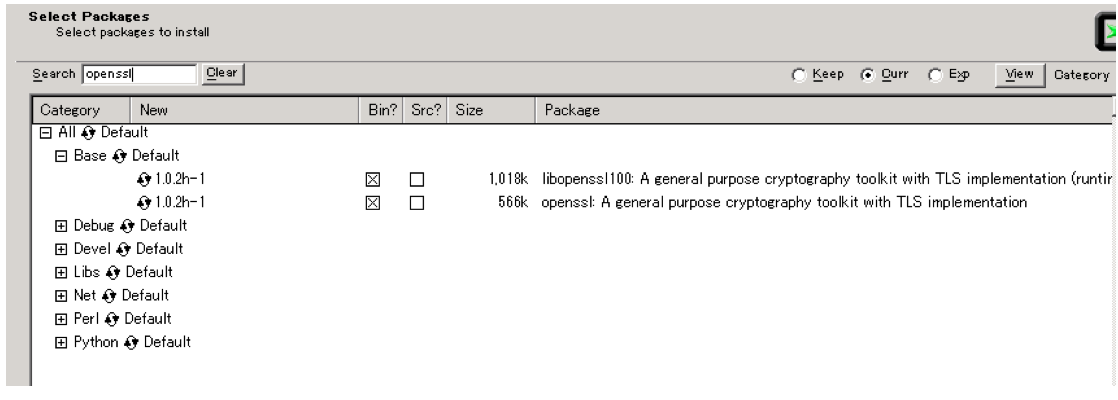
- If both has a check mark under Bin? column in the above image , openssl will be installed. However, if you instead see n/a like in the image below, then you need to click on
Skipicon so that you would see check boxes under Bin?

- Type curl in Search and expand Net category and perform the same steps as followed for openssl above
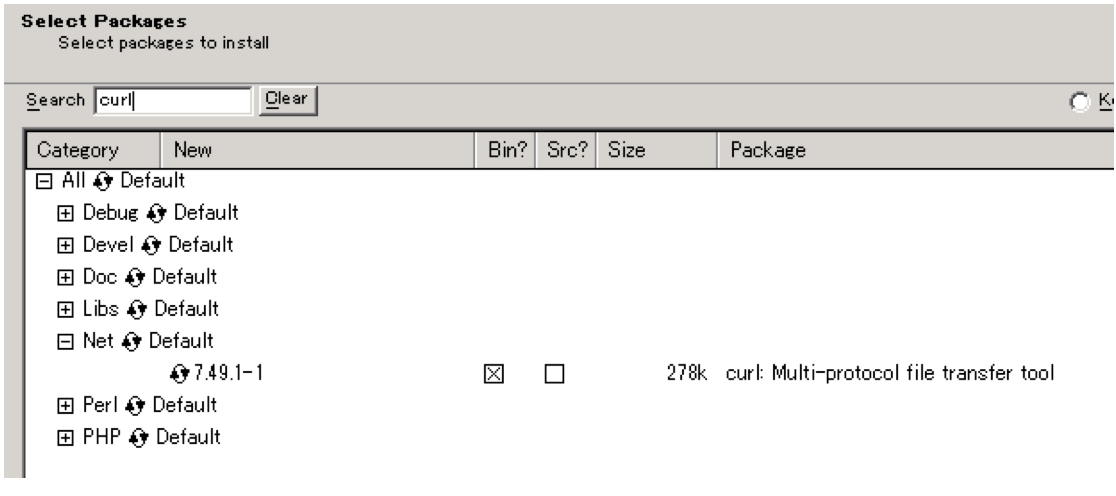
- You can add other packages as you like (But for this Proxy, openssl and curl are enough)
- Click Next and the download starts. Once it is completed, click Finish.
- Add a path to Cygwins bin directory to your PATH environment variable.
Configuration of squid
Majority of the Squid configuration is in squid.conf file. Here are some of the pre-requisites to plan followed by a sample squid.conf.- Port number: You need to decide the proxys port number. It is recommended to use the same port number of RTC on WAS. If there is an IBM HTTP Server in place or if you want to use the different port number, please follow this technote
- Directories for Certificate, Cache and Coredump files. Three directories are necessary, for example:
- Certificate: C:\Squid\certs
- Cache: C:\Squid\cachedir (Note: The size of cache files will be huge, so you need to plan it well)
- Coredump: C:\Squid\coredump
- SSL Certificates for Squid: The certificate is needed since this Proxy uses SSL to connect to both RTC SCM client and server. Here is an instruction
Installation Verification of squid
Sub-Section text Sub-Section text Sub-Section text Sub-Section text Sub-Section text Sub-Section text Sub-Section text Sub-Section text Sub-Section text Sub-Section text Sub-Section text Sub-Section text Sub-Section text Sub-Section text Sub-Section text Sub-Section text Sub-Section text Sub-Section text Sub-Section text Sub-Section text Sub-Section text Sub-Section text Sub-Section text Sub-Section text Sub-Section textRelated topics: Deployment web home, Deployment web home
External links:
Additional contributors: TWikiUser, TWikiUser
Contributions are governed by our Terms of Use. Please read the following disclaimer.
Dashboards and work items are no longer publicly available, so some links may be invalid. We now provide similar information through other means. Learn more here.