Enabling installation of iFix releases
Authors: ThomasPiccoli, KennethThomson, JenniferLiu, KenTessier, ClareCartyBuild basis: CLM 6.0, CLM 6.0.x, CE 6.0.x
Page contents
Enabling installation of iFix releases
- Login to the target UCD server as an administrator.
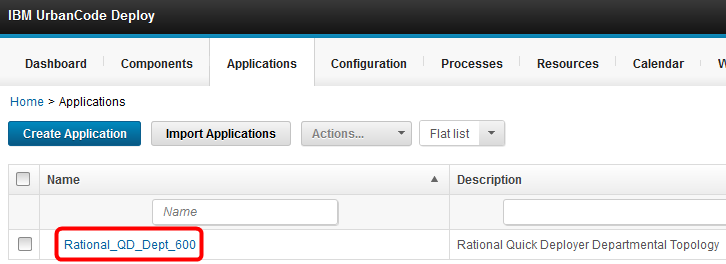
- Click Applications, then select the Quick Deployer application.
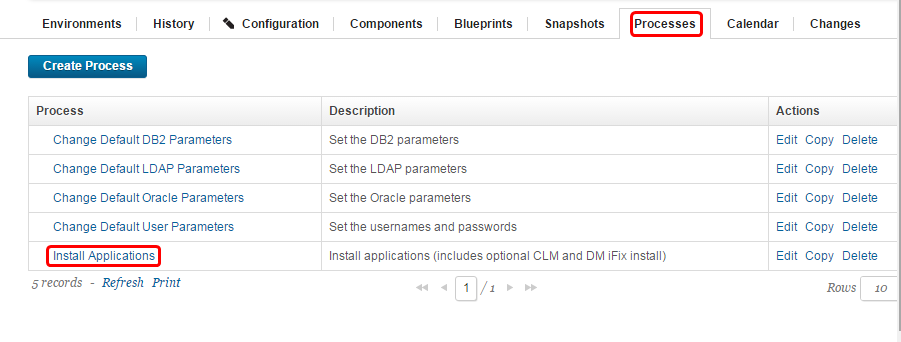
- Click Processes, then select the Install Applications process.
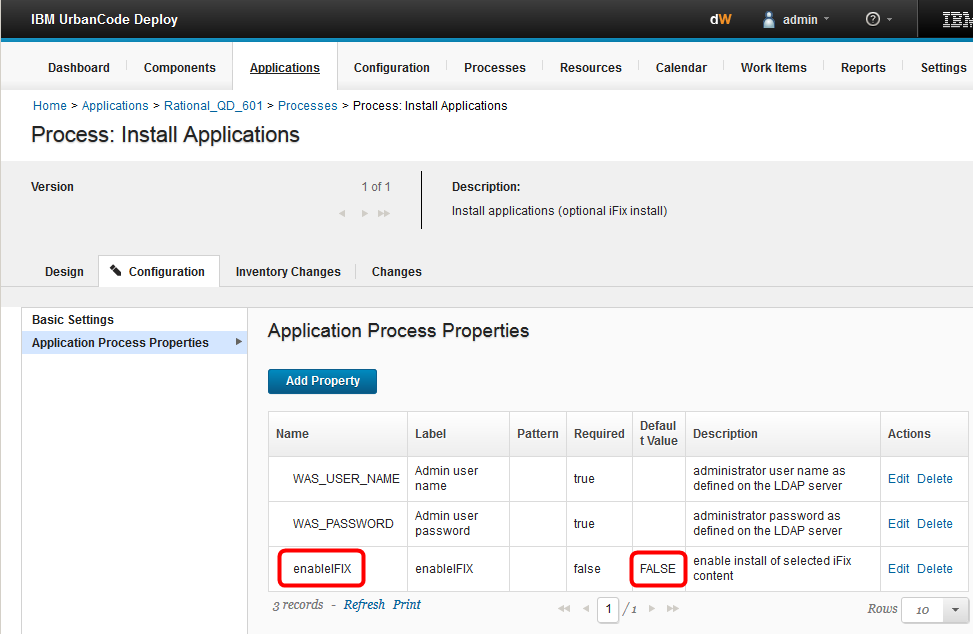
- When the process opens select the Configuration tab and then select Application Process Properties.
Chose the enableIFIX property and click Edit.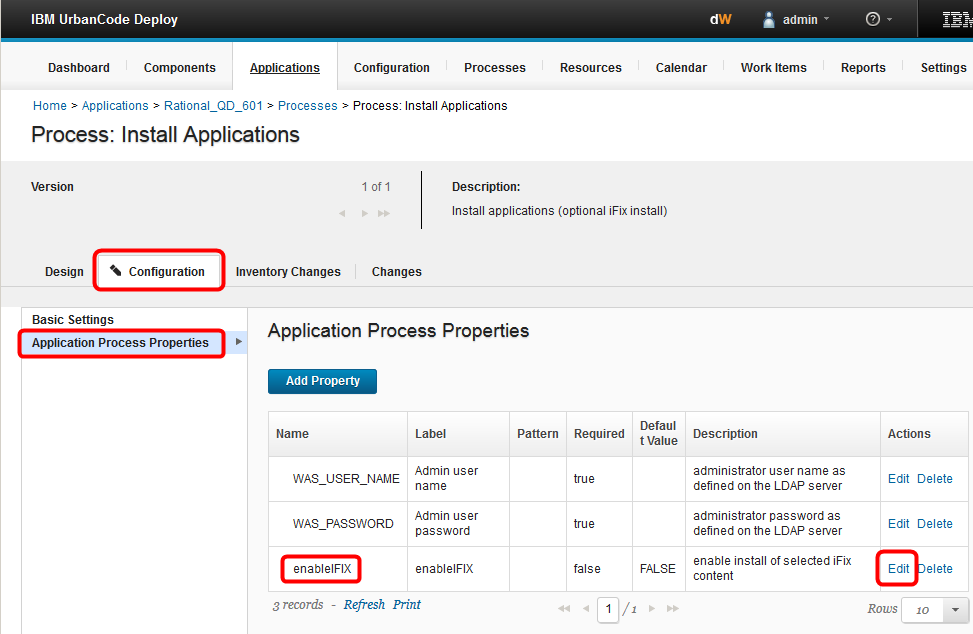
- Select FALSE to disable iFix support by default or TRUE to enable iFix support by default.
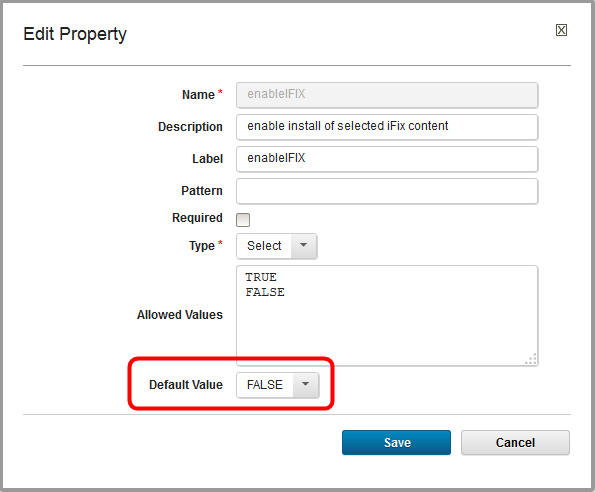
- You can also change the description and label if desired.
Be sure to press Save when changes are complete.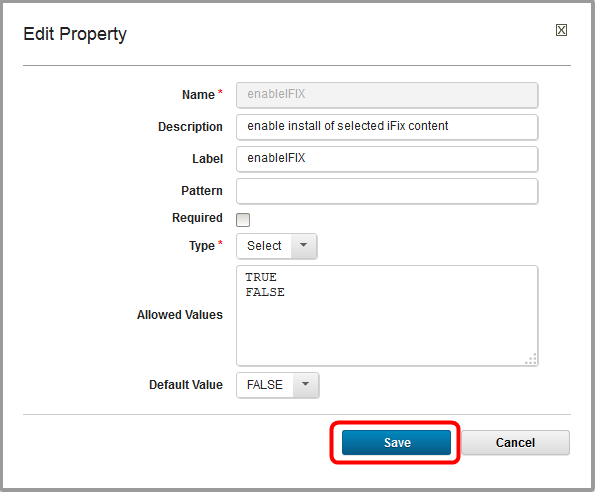
- The Default Value is now changed
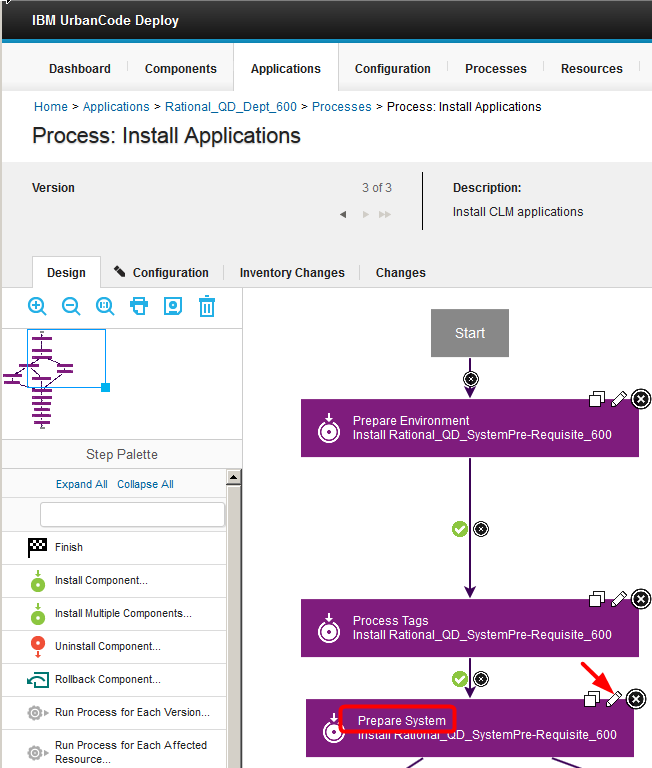
- Select the Design tab open the Prepare System step by clicking on the Pencil icon
- To specify the iFix version of CLM applications to be installed, select a version in the CLMiFixVersion field. If you do not select a version, you will be prompted to enter a value in the Run Process dialog when you select the Install Applications process. To specify iFix versions for Design Management or Rhapsody Design Management, select a version in the DMiFixVersion or DMMSiFixVersion field, respectively.
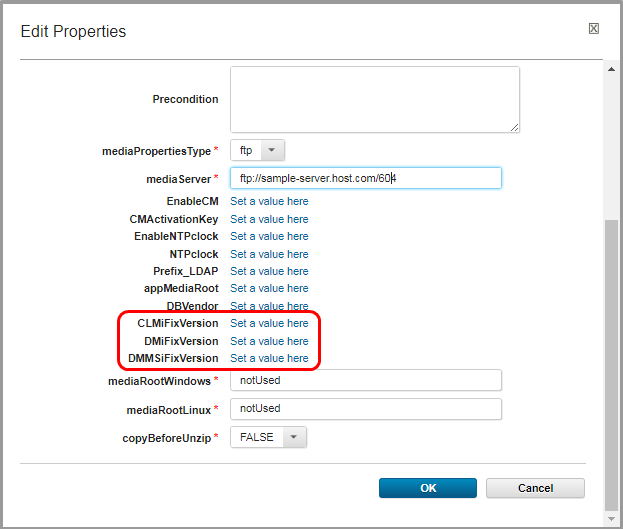
Note: after pressing OK on the Edit Properties dialog you must press the Save process icon or the changes will not be committed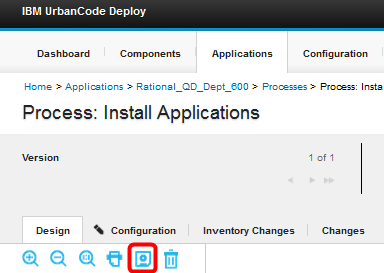
Results
Miscellaneous
Notes:
- Throughout the IBM Quick Deployer wiki the screen captures are for reference only.
In some cases if the functionality they display has not changed in the latest release they will be from a previous release
Related topics:
External links:
Additional contributors: MichelleCrane, NathanBak, ChristianLopez
Contributions are governed by our Terms of Use. Please read the following disclaimer.
Dashboards and work items are no longer publicly available, so some links may be invalid. We now provide similar information through other means. Learn more here.