Integrating Rational Insight with HP Quality Center and other third party tools
Introduction
This document describes how to configure IBM Rational Insight to extract and load HP Quality Center’s data into the Insight data warehouse. This example will demonstrate how Insight integrates with HPQC by extracting data from the HPQC database directly. In my example, I will be simulating the HPQC database with an Excel spreadsheet. I will define tables in the spreadsheet that will act as the tables in the HPQC schema. Though the table structure may not be identical, the concept is the same. This demonstration is applicable to any third party tool that allows read access to its database (see supported Insight databases. Please note that there are other possibilities for integration, such as leveraging HPQC’s REST service. In my example, I am using Rational Insight v1.1.1.2 with IBM DB2 v9.7 as the database vendor and Microsoft Windows 2008 R2 Enterprise as the operating system.
Prerequisites
- You have obtained an HPQC user name and password with read access privileges to the HPQC database.
- In order for you to create a successful connection to the HPQC database, you must have the 32-bit database client installed on the Insight ETL server (for DB2 and Oracle). You also must create a connection to the HPQC database using that database client (eg using DB2 Control Center, Oracle Net Manager or SQL Server Management Studio). Once you can successfully connect to the HPQC database through one of those tools (from the Insight ETL server), then Insight will be able to connect to it.
Scenario
An organization has recently deployed Rational Insight and would like to begin reporting on their HPQC data to produce defect and quality metrics. They decide to configure Insight to extract and load data from their HPQC database into their Insight data warehouse.
The first step is to add the HPQC database as a system data source (DSN) on the Insight ETL server. Remember, in this example, we are simulating the HPQC database with an Excel spreadsheet. To add the spreadsheet as a datasource, see Steps 1 & 2 of Integrating a Microsoft Excel spreadsheet with Rational Insight.
- From the ETL server, launch IBM Cognos Data Manager and open your existing Insight catalog. If this is the first time you launch Data Manager or you have never created a catalog, see Create the Rational Insight ETL catalog on how to create the initial catalog.
- Add your HPQC database (or any custom data source) as a new connection in IBM Cognos Data Manager.
- Expand the ‘Library’ node in the tree on the left hand side of the workspace. Right-click on the ‘Connections’ node and select ‘Insert Connection’
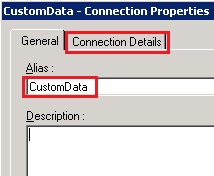
- Specify a name for your new datasource (eg ‘CustomData’) as the ‘Alias’ and then click on on the ‘Connection Details’ tab
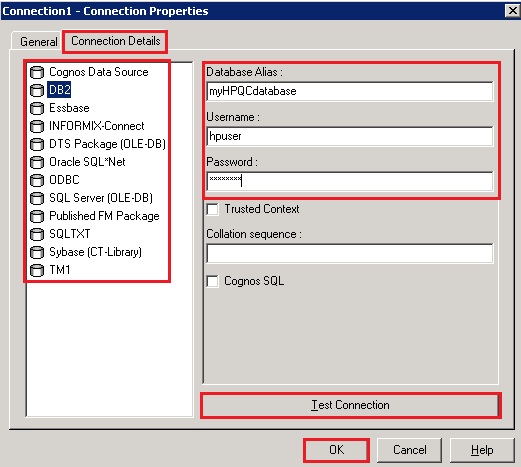
- In this next step, we will point to our HPQC database. Depending on what database vendor you are using for your HPQC deployment, your selection here would be either DB2, Oracle or SQL Server. Here is an example of what you would need to do if your HPQC database was hosted on DB2. You would need to specify the name of the HPQC database and the user who has access to that database (username and password). You can also test your connection to confirm you have access. When finished, click ‘OK’.
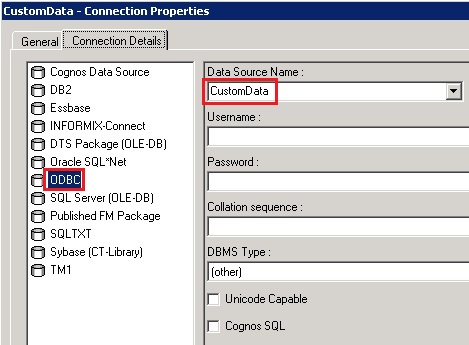
- In this example, we are using an Excel spreadsheet as the data source, so we will select that pre-defined ODBC connection that we named ‘CustomData’ and click ‘OK’.
- Create a custom fact build to load project data into the data warehouse.
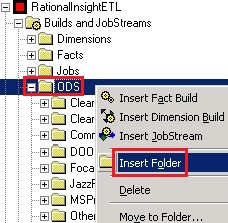
- First, we need to create a new folder in the ODS section of the catalog to host your new fact builds. Right-click on ‘ODS’ and select ‘Insert Folder’
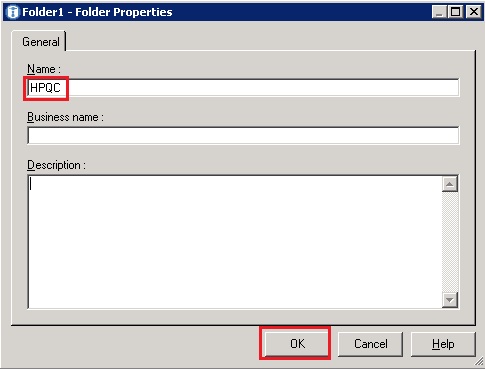
- Type the name of the new folder and click ‘OK’
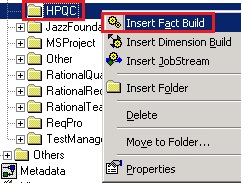
- To create a new fact build, right-click on ‘HPQC’ and select ‘Insert Fact Build’
- Type the name ‘HPQC_Project’ and select ‘OK’
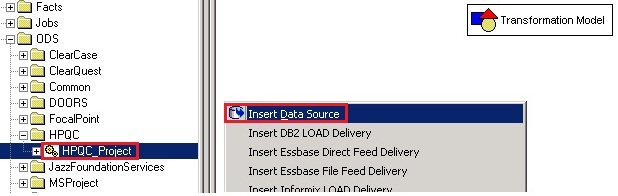
- Highlight your ‘HPQC_Project’ fact build then right-click in the workspace to the right and select ‘Insert Data Source’
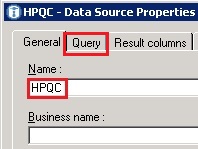
- Provide a name for this data source (eg ‘HPQC’) and then select the ‘Query’ tab
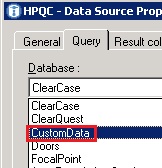
- Select your ‘Database’ by choosing the connection that you added in step 2 (in our example, it is ‘CustomData’)
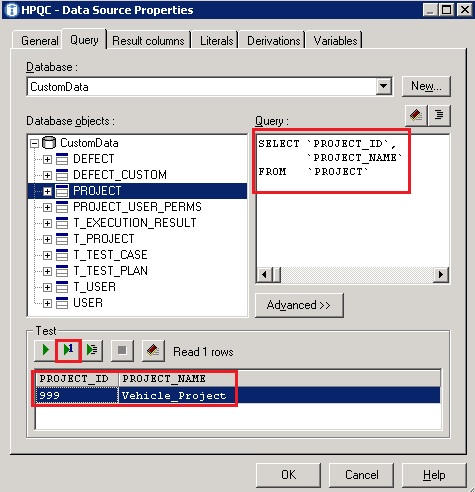
- Write your SQL query in the ‘Query’ section of this tab. In our example, we traversed through our data source tables (‘Database objects’), located the target table that contains the data we needed, and used the built-in query builder feature to help generate the SQL.
To do this, right-click on the ‘PROJECT’ table and select ‘Add table select statement’ - To test the results of the generated SQL query, select the green triangle with the number one which returns one row of data
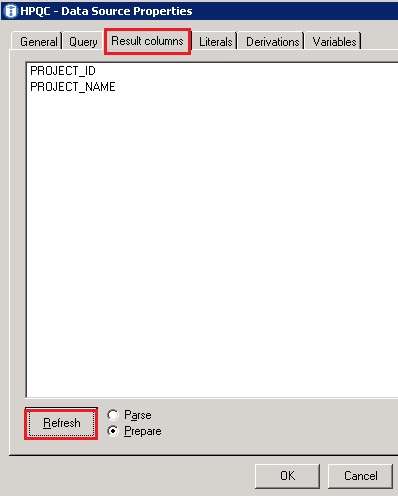
- Navigate to the ‘Result columns’ tab and select ‘Refresh’ which will display the columns results of the query
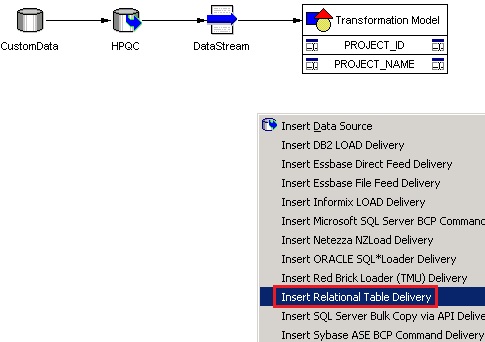
- Click ‘OK’ to close the data source properties window. Your workspace should now look like this:
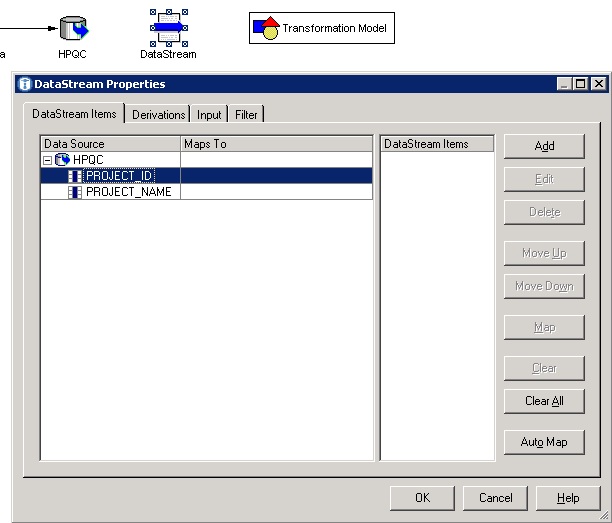
- Double-click on the ‘DataStream’ icon to view the ‘DataStream Properties’
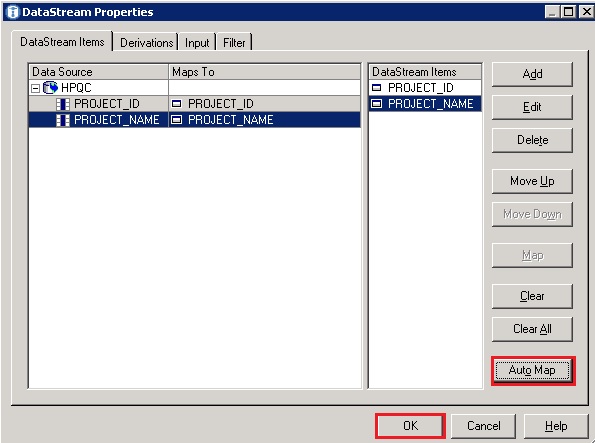
- Click on ‘Auto Map’ to map the results of the SQL query to an object in the data stream, then click ‘OK’
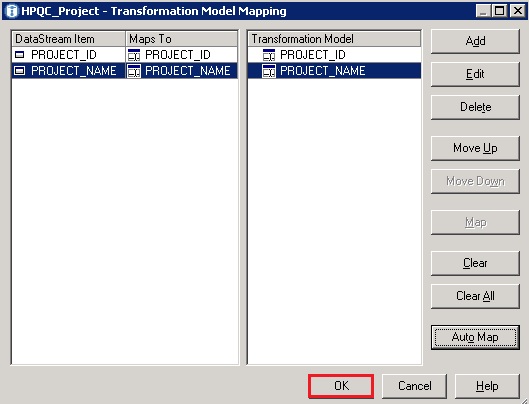
- Right-click on the ‘Transformation Model’ and select ‘Mapping’
- Click on ‘AutoMap’ and select ‘Create new elements as Attributes’
- You will now see the mapping from the data stream to the transformed columns. In this case, we have not transformed the columns, but just streamed them through, as it is not needed to fit our usecase. Click ‘OK’ to close the ‘Transformation Model Mapping’ window.
- Right-click anywhere in the whitespace of your workspace and select ‘Insert Relational Table Delivery’
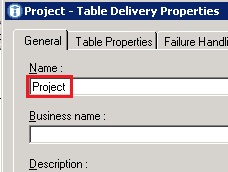
- Specify the name of the delivery to be ‘Project’
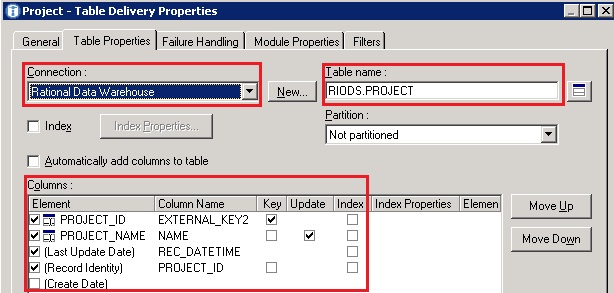
- Navigate to the ‘Table Properties’ tab and set the following parameters as illustrated below
- For Connection, select ‘Rational Data Warehouse’. This tells the fact build to where to connect to in order to deliver the data
- For Table name, select ‘RIODS.PROJECT’. The out of the box Insight data warehouse schema provides several tables and schemas that can be leveraged. In this case, it makes sense to leverage the existing ‘PROJECT’ table of the ‘RIODS’ schema. You can view the Insight data warehouse schema, including column descriptions, here.
- For the Columns, check off each element shown below and type the column name respectively. Be sure to check off the proper ‘Key’ and ‘Update’ flags
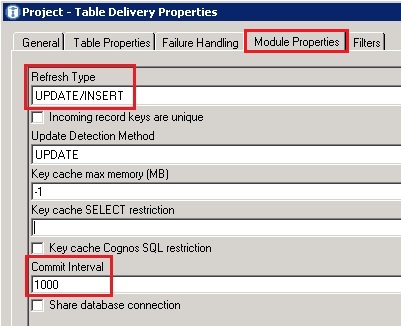
- Navigate to the ‘Module Properties’ tab and set the following parameters as illustrated below
- For ‘Refresh Type’, select ‘UPDATE/INSERT’. This will insert new projects and update existing entries.
- Set the ‘Commit Interval’ to 1000. This means that ETL will write/commit 1000 rows of data to the database before processing anymore rows.
- Click on “OK” to close the ‘Table Delivery Properties’
- Your fact build should now look like this
- Run the fact build (ETL) to load the HPQC data into the Insight data warehouse
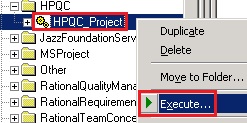
- Right-click on the ‘HPQC_Project’ fact build and select ‘Execute’
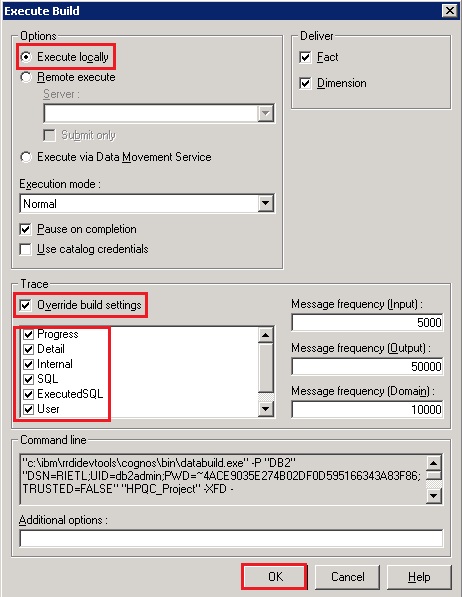
- On the ‘Execute Build’ window, select to ‘Execute locally’, check off to ‘Override build settings’, enable all tracing and click ‘OK’

You should now see your new data source in the list of connections.

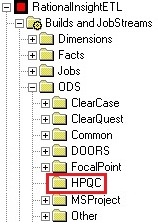
You should now see your new folder in the ODS section of the catalog

You now will see the new ‘HPQC_Project’ fact build under your ‘HPQC’ folder

Next, we need to start building the “Extract, Transform, Load” (ETL) process of the fact build.
In this next step, we will need to generate a SQL query to extract the project data from our HPQC database. If you are not familiar with the HPQC schema then you should contact one of your HPQC administrators and let them know what data/result set you are looking to extract and they can assist you with generating the appropriate query. In our example, we only want to extract and load the ‘PROJECT_ID’ and ‘PROJECT_NAME’ columns.


Note: From this point on, the process is “business as usual” with respect to the Data Manager tool. Now that we have successfully pointed to our data source (HPQC) and selected the specific table/columns we need, the data source becomes transparent to the process going forward. Hence, this documentation is applicable to any third party tool that allows read access to a database or spreadsheet data. In an effort to provide the end-to-end process, I will proceed by demonstrating the steps to create a fact build for the ‘Project’ entity.


The ETL will begin execution. A ‘databuild.exe’ process will spawn and you will see a command prompt window. If successful, the prompt will look like this (in this example, there is only one row of data):
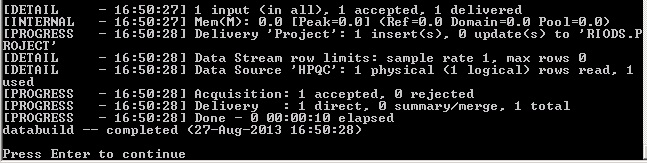
If there are any rejections or failures, please refer to the Data Manager logs for more information.