
Customizing the Agile Planning tools in Rational Team Concert 4.0
The Agile Planning tooling supports you in being agile. From planning a simple iteration, to a release for one team or a whole project with multiple iterations and teams – the Agile Planning tooling comes with a set of ready-to-use plan types and plan views. The Agile Planning tooling can be customized extensively to fit your needs.
Prerequisites
We strongly recommend reading the following documents first:
- The Jazz Tutorial
- Jazz Platform – Client Setup Guide
- Getting Started with Work Items
- Getting Started with Planning
- Work Item Customization
This document also assumes that a Jazz server has been set up and you have access to it. In addition you have to be connected to an existing Project Area before starting customizing the Planning component.
Getting Started
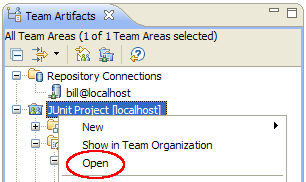
Customization of the Agile Planning tools is done via the project area's Process Configuration editor. First, select Open in the context menu of the Team Artifacts view.
Then navigate to the Process Configuration page and select the Project Configuration > Configuration Data > Planning configuration data.
General
Different teams chose different ways of tracking how much time is being spent on a work item. Rational Team Concert allows to chose between Time Spent or Time Remaining. Further, you might want to have estimates formatted in hours no matter how big they are, or you want them to be formatted in days, hours, and minutes, for example 2d 4h instead of 20h.
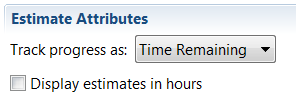
Choose the work item progress mode and estimate format that works best for you.
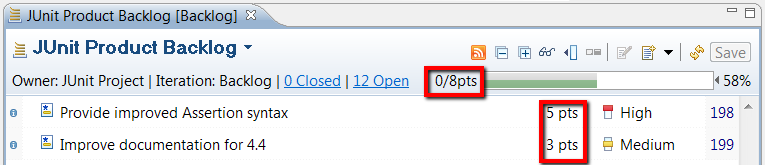
Rational Team Concert lets you mark one iteration per timeline as Backlog Iteration. Setting a backlog iteration helps Rational Team Concert to figure out what plan is the backlog plan, enables a easy navigation between the product backlog and sprint backlogs, and makes it easier to create work items for the product backlog.
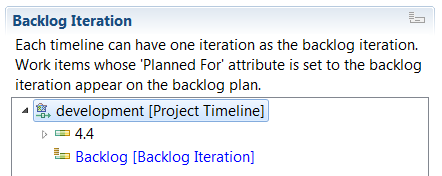
We recommend a top-level iteration with no children as the backlog iteration. Siblings of it are meant to be release iterations, and the children of those siblings are meant to be sprints.
Plan Attributes
Work items have a set of built-in attributes as well as a set of custom attributes (see Work Item Customization for details). Work item attributes are used by groupings, filters, sorters, make up available columns in a plan, and define how work items can be colored. Further, some attributes have special semantics in order to support high-level progress computation and work item prioritization. The Plan Attributes editor allows you to edit the Complexity Attribute, the Ranking Attribute, and Attribute Mappings.
Complexity Attribute
Agile methods distinguish between sizing plan items and estimating execution items. Usually, plan items are sized using an abstract value. Scrum, for example, uses story points but other agile methods might use any other abstract value, such as gummy bears. In contrast, execution item effort is estimated in working hours.
The Complexity Attribute section lets you select the work item attribute used to size plan items. Release plans use this attribute to compute each plan's progress.

By default, the complexity attribute is set to Story Points, but you may select any other work item attribute. Specify an abbreviation for the complexity attribute, which will be used as a more compact rendering in the user interface.
Ranking Attribute
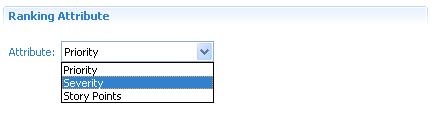
Plans allow the work items to be ranked, that is to specify a complete ordering among them. Usually, this functionality is used to prioritize the outstanding work while planning. While the exact ordering is not visible but relative to other work items only, the coarse-grained value is reflected on each work item using an enumeration attribute, by default each work item’s Priority.
Using this configuration section, the coarse-grained attribute used to rank work items can be changed to any work item enumeration attribute.
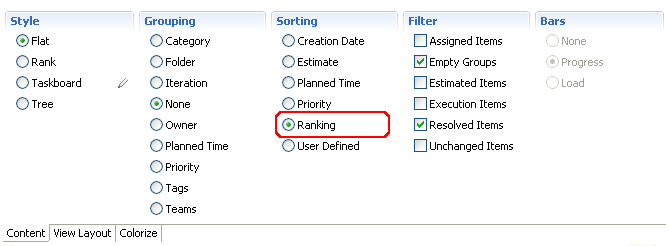
Changing the ranking attribute modifies the behavior of all plan views using the Ranking sort mode.
Attribute Mapping
The Work Item component allows defining custom attributes. In order to make them available to the Agile Planning tooling, they must be added in the Attribute Mapping section. To do so, select Add and chose an attribute you want to use for planning.
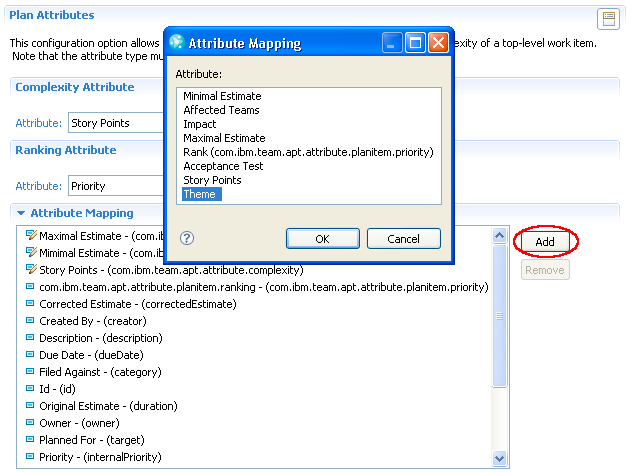
Adding a work item attribute to planning makes it available for use with groupings, sorters, and filters. Further, it can be selected as a column visible in the View Layout as well as used when defining colorize-rules.
Plan View Elements
Plan Views enable different visual representations of a plan and therefore support different tasks in planning. A plan view is made up from different Plan View Elements like styles, groupings, filters, sorters, column-, and colorize-definitions. Groupings, filters, and sorters can be managed in the Plan View Elements editor.
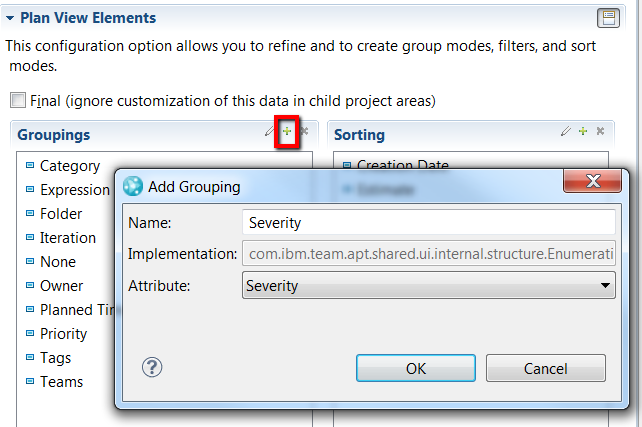
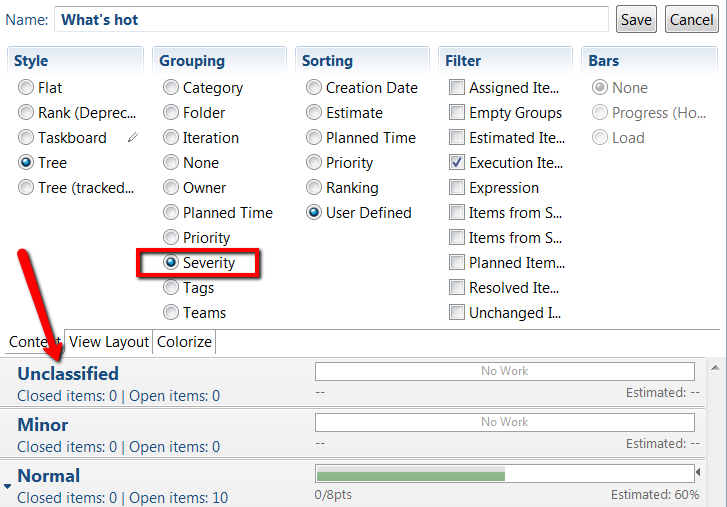
Select Plan View Elements, go to the groupings section, and select Add. Enter a name and select an attribute by which you want to group your work items (note that currently only enumeration based attributes are supported.). Now, open a plan and edit or create a plan view. The newly created group mode will be ready for use.
Plan Views (formerly Plan Modes)
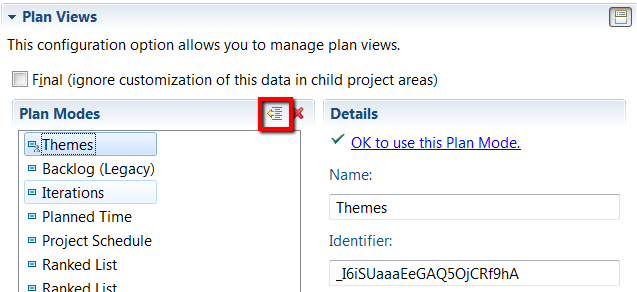
Plan Views are created and managed in-place using the plan editor. Rational Team Concert comes with a set of built-in plan views, however you can edit those and create new ones. Select Plan Views to get a list of all currently available plan views. It allows to delete custom plan views as well as to promote plan views for project wide use.
Plan views belong to a plan type. An iteration plan, for instance, has a different set of plan views compared to a release plan. When creating a custom plan view, it’s visible to the team owning the corresponding plan only. However, you might want to share a plan view amongst your project. To do so, choose a plan view and select Promote.
Once promoted, a plan view is not private to a team anymore but can be associated with a plan type to be used by everyone.
Plan Types
Rational Team Concert comes with different plan types – each being tailored for a certain need. For instance, an iteration plan gives you a detailed view on all work items for a team and iteration, while a release plan provides a high-level view of all plan items of the whole project.
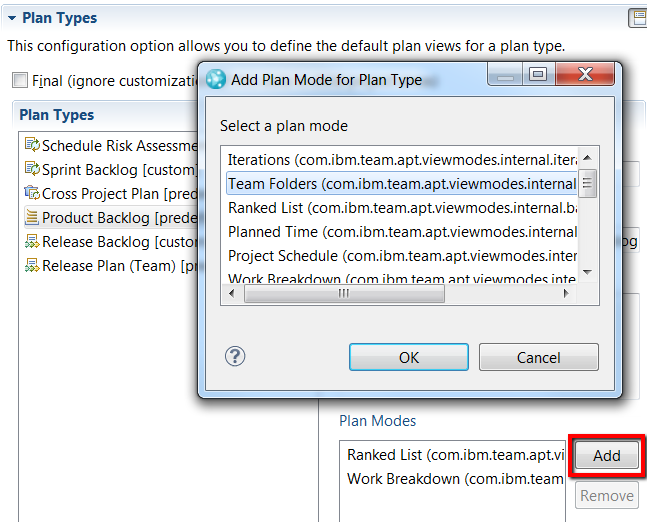
The Plan Types editor allows you to inspect plan types, customize them by adding new default plan views, or delete them.
Plan Item Types
A Plan Item type, or top-level work item type, denotes a work item type that covers more information than a single implementation task. Usually, such work items describe work units on a high level of abstraction and can be broken up into further tasks and child work items. In terms of planning, it is particularly important to track the progress of plan items, since they reflect the work to be done during an iteration in a condensed and high-level way. The Plan editor has special representations for these work item types to account for this. Instead of estimates, it shows the overall percentage of completed child work items. Plan items which are not estimated do not lower the quality of planning value (they are not counted as not estimated) because the real work usually happens in child task which will be estimated instead.
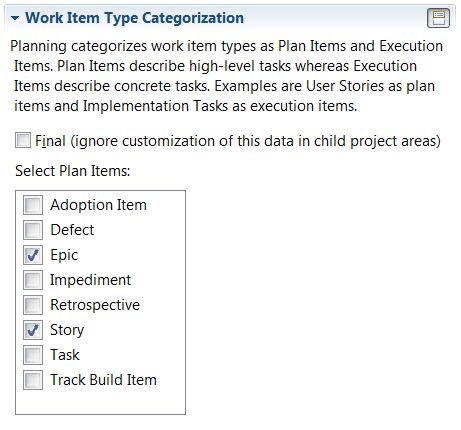
If you add new work item types to the process specification and some of the new types are used to capture and track higher level planning information like Stories and Epics in Scrum, then mark these types as Plan Items.
Work Environment
The User editor allows every user to define its own work environment, including work days, work assignments, and absences. If users do not customize their work environment, a default work environment is used. This default work environment can be edited using the Work Environment configuration option. You can set the work hours per day, the time when the working day stops and the working days of the week.
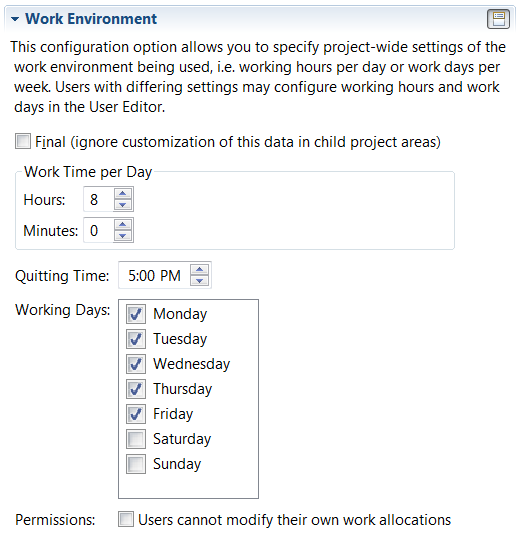
In addition the work environment values will be used to normalize estimate values entered in the Work Item editor, the Iteration Plan editor or the My Work view. So the value 1 w equals in hours the number of work days per week multiplied by work hours per day as specified in the work environment project settings.
Copyright © 2012 IBM Corporation