
Using Rational Team Concert and Rational Requirements Composer for tracking and managing meeting minutes and action items
Introduction
A problem we all experience is finding a unified way to track and manage meeting minutes and action items. In a lot of instances, people attempt to do this through variuos methods: email, word processing documents, spreadsheets, etc. If you work with Rational Team Concert (RTC) and Rational Requirements Composer (RRC), this can be done easily and in a unified way.
Make sure that CLM Application (at least RTC and RRC) have been installed and configured. As an example, there is a lifecycle project called HMS (Hospital Management System) which was created at install. .
Project Meetings with Templates
There are multiple ways to create the templates for meeting minutes. Many organizations will have the standard template to create meetings minutes, so there should be no need to do the customization every time. Let’s create a standard template that all stakeholders will follow.
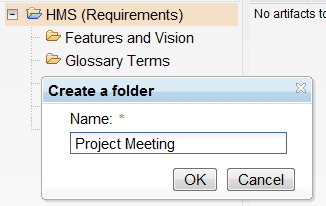
Step 1: Create a Project Meeting folder using RRC where we can keep the Minutes of Meeting (MoM) related to the project meeting.
Step 2: Now we need to import a meeting template/document or we need to create a new template. Its good practice to have all people involved with the project use the same templates.
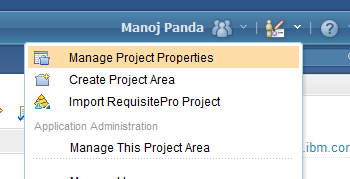
Step 2.1: Let’s first create the artifact type e.g Meeting Template. To do this, click on Administration and then click Manage Project Properties.
Go to Artifact Type tab and click on New Type to create the artifact type called Meeting Template. After filling out all the required fields, click on Save. Make sure that Meeting Template has been created and displays on left pane.

Now let’s come back to the HMS (in RRC) application by clicking on the home menu.
Step 2.2: Let’s import an existing template/file which is in my local machine. (or else you may create one)
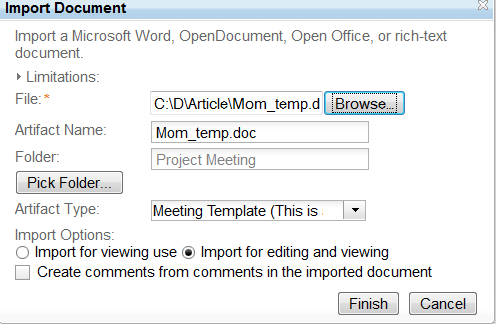
- Click on the Project Meeting folder and then click on Import documents.
- Fill out all the details. Make sure that Artifact type is Meeting Template which we created in the previous steps.
- Select Import for editing and viewing radio button and then click Finish.
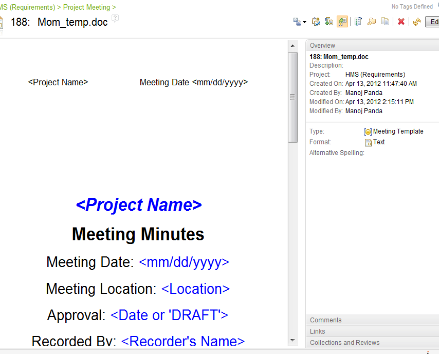
- Notice that in the folder, you will have one new artifact called Mom_temp.doc (which we imported from the local machine as an example)
Step 2.3: Note that when we import the document (e.g Microsoft Word), we may not get the same formatting in RRC. We may need to do little customization. Make sure the artifacts (MoM_temp.doc) is open in RRC. Click on Edit for the further customization.
After you have done the required customization, click on Save. Now we need to export the customized document as a new template. We can do this by clicking on Create Artifact Template.

- Set the New Artifact Template Name as Mom_temp V1 and click on Create.
- After the template is created, click Close.
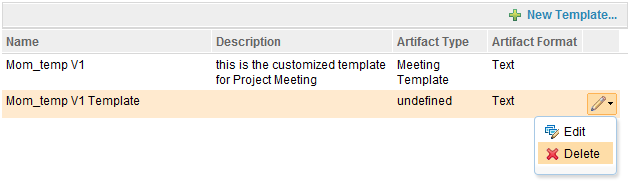
- To re-verify, go to Manage Project properties and then click on Templates tab.
You can notice there will be 2 artifact templates. First the original that you imported and the newer version which you have customized. If you want to, you may delete the original template and keep only one, the template called “Mom_temp V1”
Step 3: Finally your template is ready for use. To create a new Minutes of the Meeting:
- Click on Project Meeting folder, right click and Create.
- Fill out all the required fields, like Name, Artifact Type should be Meeting Template, Artifact format should be Text and the Template is Mom_temp V1.

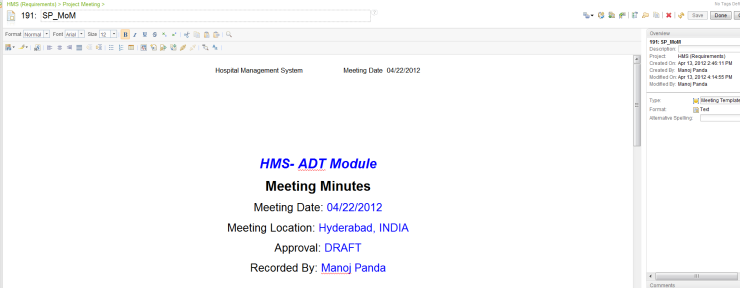
- After you click Finish, you can see the same contents as per the template.
- Now start your meeting by providing the project name, meeting date, approvals, number of attendees, etc.
How to create the link to the task and track who will be doing what
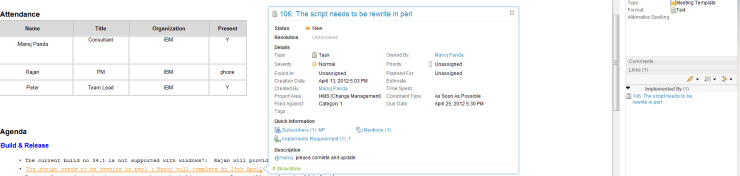
Step 1: Assume that the agenda of the meeting and the tasks has been defined as seen below. Now we need to create/link the task w.r.t to the agenda.
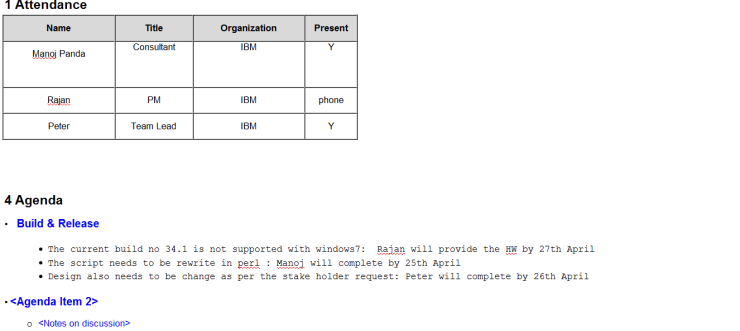
In the above screens you can see the sample Nnte with agenda and some tasks to be performed by respective stakeholders with the timeline.
Step 2: Before the MoM is finalized or agreed to by all stakeholders, let’s create the approval/review process for the current MoM.
- Click on the Review icon, and create the informal review.
- Add the respective users who need to review or approve.
- Finally, the output of the meeting should be agreed to or approved by the stakeholders.

Step 3: Let’s create the task as per the above agenda
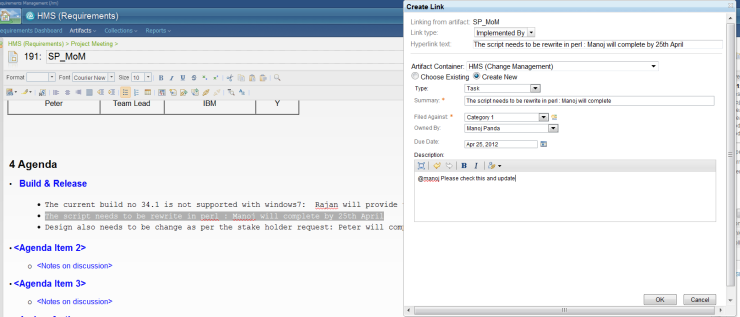
- Select the complete text/line from where you want to create a link/task. Right click and create the link. You can make changes accordingly, using the screen below as refrence. Also notice @manoj that in the description field. It is good practice to prefix @ before the user name so that he will get automatic notification.
- Set the Due Date as agreed. Then click OK
- You can do the same for other agenda item and tasks, and then click Save.
- Now you may notice that the text color has changed as well as there now being a link in the Implemented by field.
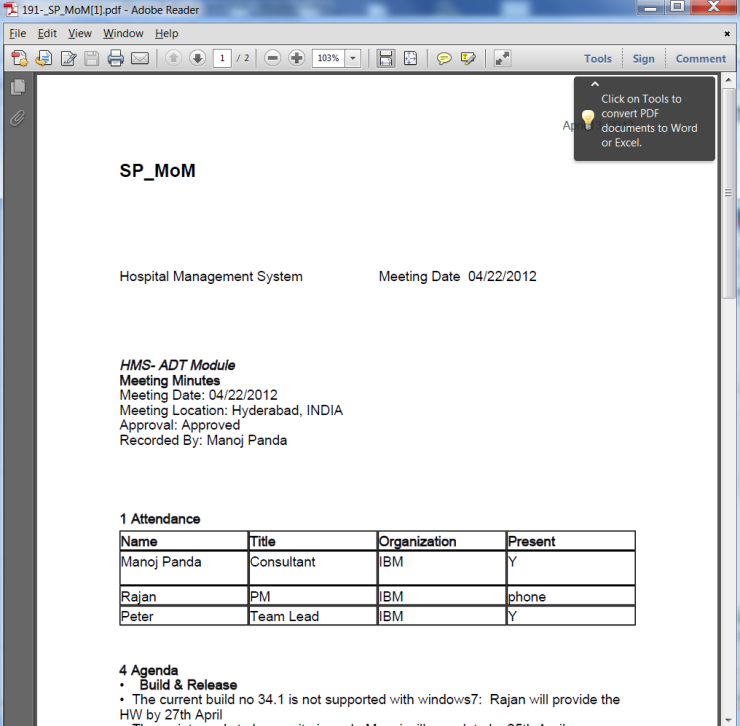
- Next you can create a report, in case you need to send this MoM outside of your organization, to someone who does not have access to the Jazz server. Click the Create and print icon, select PDF and then click OK. A sample report is shown below.
Another simple way to create Minutes of the Meeting without template
Step 1: In the above steps we created the artifact type Meeting Template. Now let’s add the attribute by clicking on Add Attribute. You can also create the new attribute according to your own requirements.
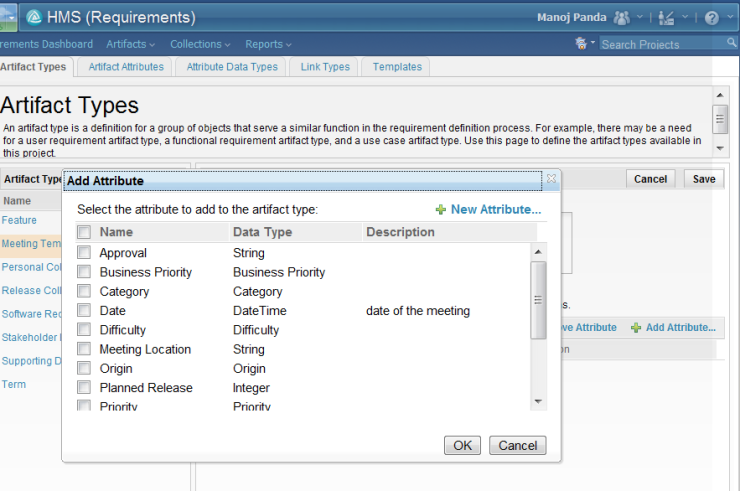
- We have added different attributes like Date, Meeting Location, Approval, Participants, Guest (this is required for people who attend a meeting but don’t have a user name in the project).
- Let’s assume that default meeting location is Hyderabad. You can set the initial value while creating the attribute so that when you create a new MoM, the meeting location will automatically be added.

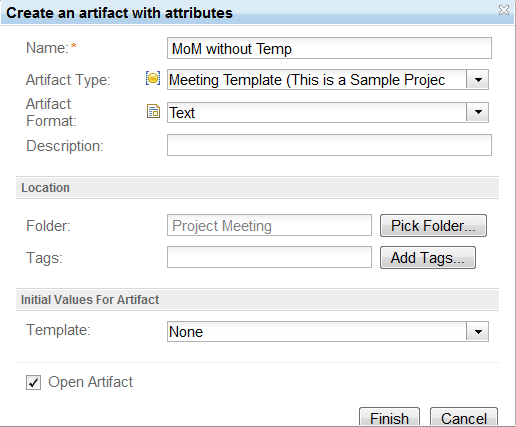
- Now we are ready to create the MoM. Click on Project Meeting and then Create. This time you created it without a template.
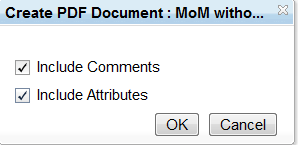
You may notice that in meeting location, the name Hyderabad is automatically added. You may need to fill out the date, approval, participants, etc. If you need to create a report, please check both check boxes as shown in the screenshot below.
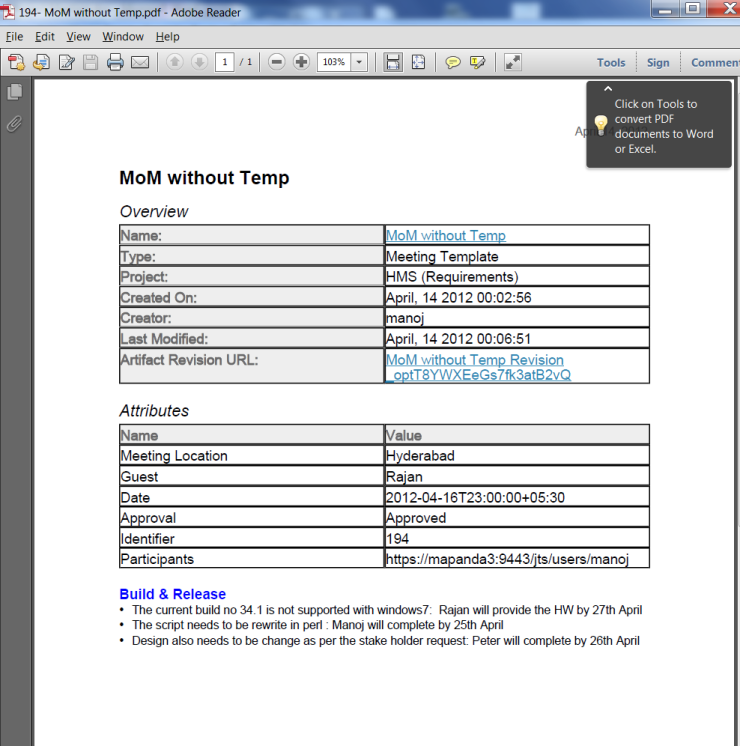
Now the report is ready with all attributes provided during the MoM creation.
About the author
Manoj Panda is a Sr. IT Consultant for IBM Rational, India. He has worked on Project Management and Release Management over the last ten years, and has 18 years of IT experience. He can be contacted at manoj.panda@in.ibm.com.
Copyright © 2012 IBM Corporation